


![]()
SVA
Workshop
10/07/08
Before beginning any work whatsoever, I've had to create a suitable environment in which to do this project. I've learnt the hard way that you really need a dedicated area in which to do any kind of long term project or you'll spend most of your time setting up, packing down, and searching for things rather than concentrating on getting a good quality result.
After moving house late last year, I had the pleasure of having a 37' x 16' wooden shed to do with as I needed. It has taken several months of hard work from me, my wife and our housemates (thankyou all...) to covert this uninsulated leaking damp gloomy shed into a modern workshop (19' x 16'), office (16' x 16') and storeroom. Ok, so maybe it wasn't that bad to start with, but we have so far needed to:
- Put in windows (double glazed of course!)
- Make a decent 8' x 4' bench
- Give up trying to patch leaking walls and ended up refacing the entire structure with 1" featheredge boarding
- Insulate the walls with 100mm of prime itchy RockWool
- Clad the walls with 12mm plasterboard
- Put in 2 studwall partitions (also insulated and plasterboarded)
- Put in double doors at one end to get 8'x4' sheets and Mojos in and out easily
- Completely rewire all electrics with new RCD fusebox, lighting, and ring mains
As if that weren't enough - I've still got to:
- Put in 2 internal doors
- Insulate the ceiling with a combination of 12mm Celotex and 100mm Rockwool
- Paint <sigh>
- Decide on flooring...
- Finish the ring main wiring
- Finish one small studwall into the storeroom
- Construct some benching
And this all has to be done soon. I've ordered the Mojo kit and it will be ready in approximately 6 weeks time!
Exterior before and after:
| Exterior before | |
|---|---|
| Exterior after | |
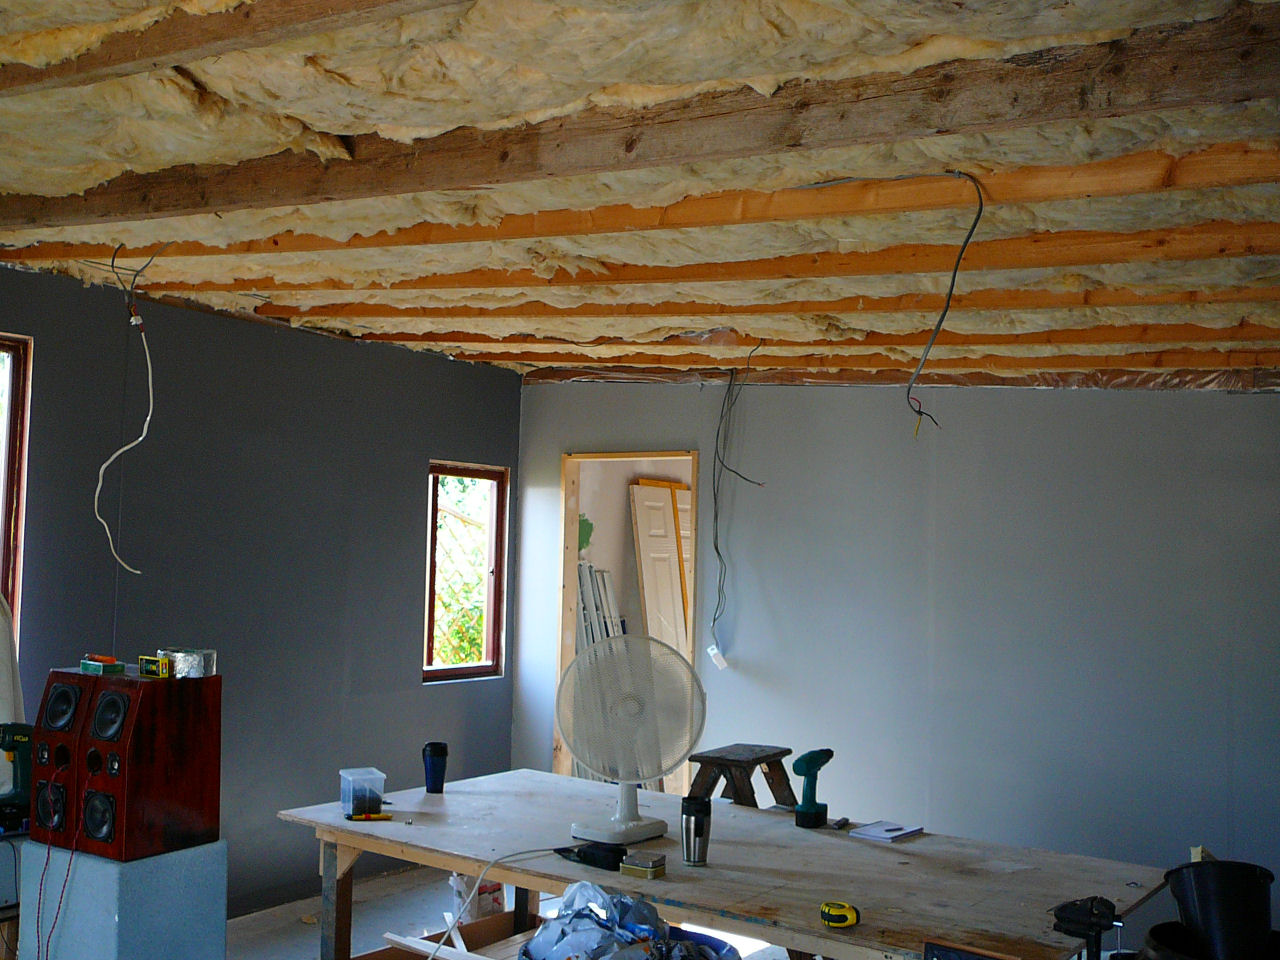
| Interior before | 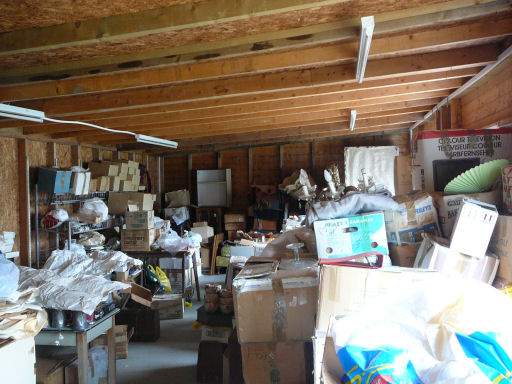 |
| Interior during (1) |  |
| Interior during (2) | 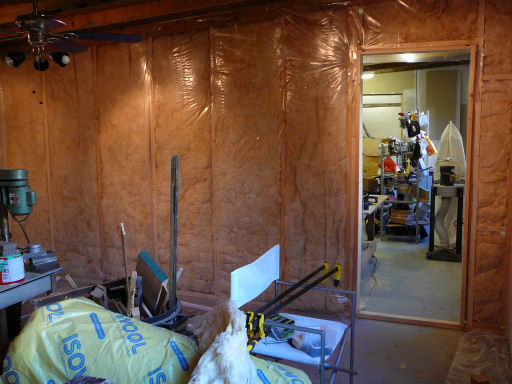 |
| Interior during (3) | 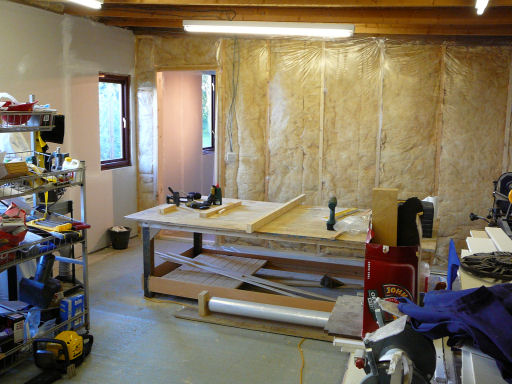 |
| Interior during (4) | 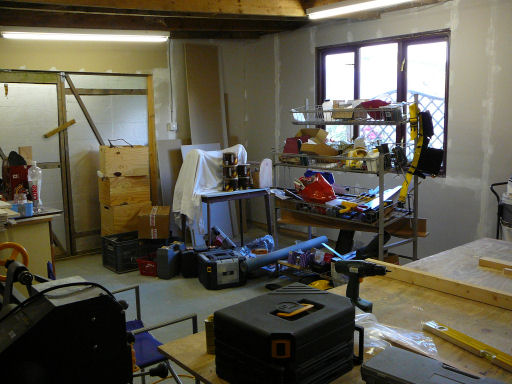 |
| Interior during (5) | 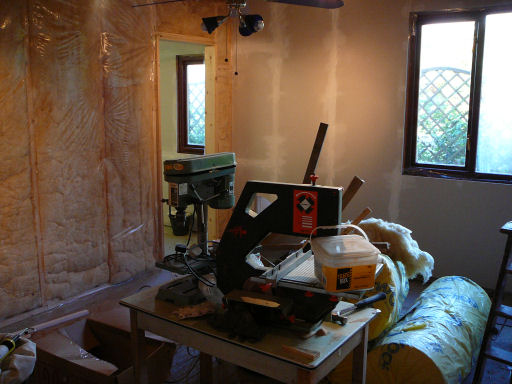 |
![]()
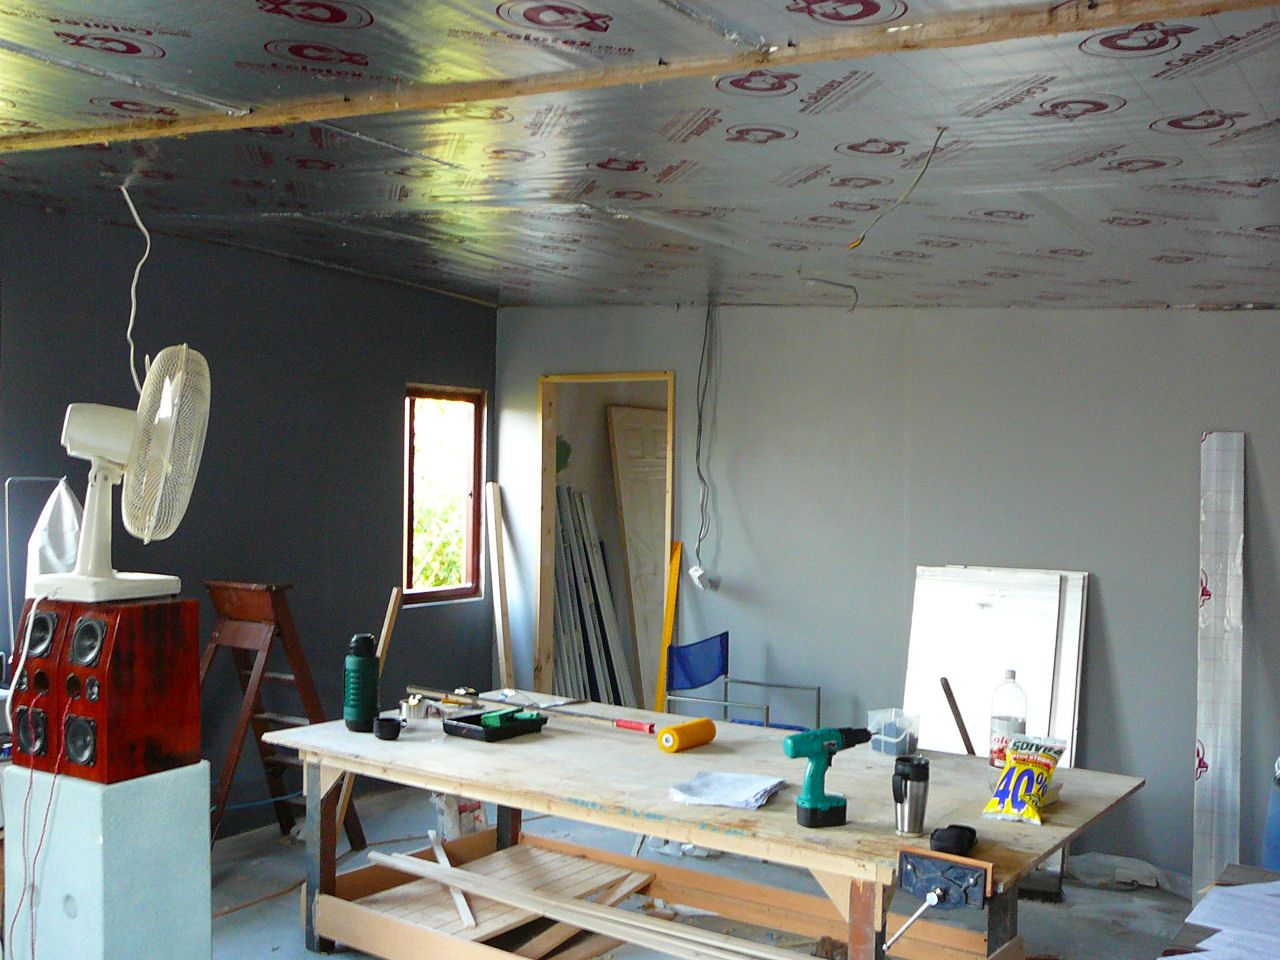
Some progress... I've finished plasterboarding and the last week has consisted of filling and sanding, more sanding, some filling followed by some sanding, and then more sanding. The first coat of white emulsion has also now been painted on to help seal the plasterboard before the top coat goes on.
For the top coat, I'm using a kitchen & bathroom paint to make future cleaning that little bit easier, and I aim to get this on over the next few days.
I've also located a source of suitable flooring. It's a 10mm thick layer of recycled tyre rubber shreds that have been compressed into a large mat. Essentially, it's the same stuff as you find on kids playgrounds and should help with both comfort and noise when the workshop is up and running.
Interior during (6) |
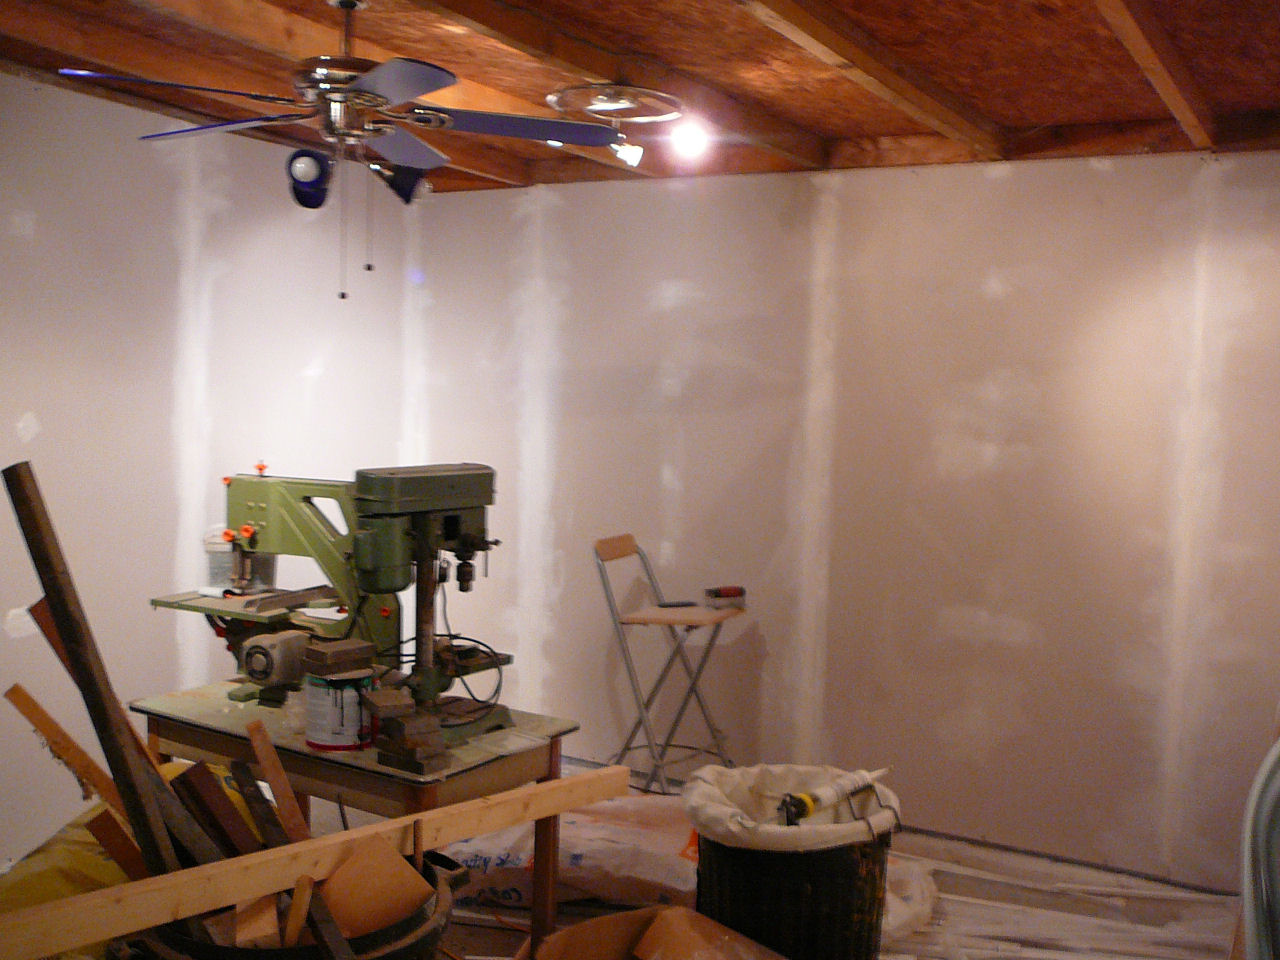 |
|---|---|
Interior during (6a) |
 |
Interior during (6b) |
 |
![]()
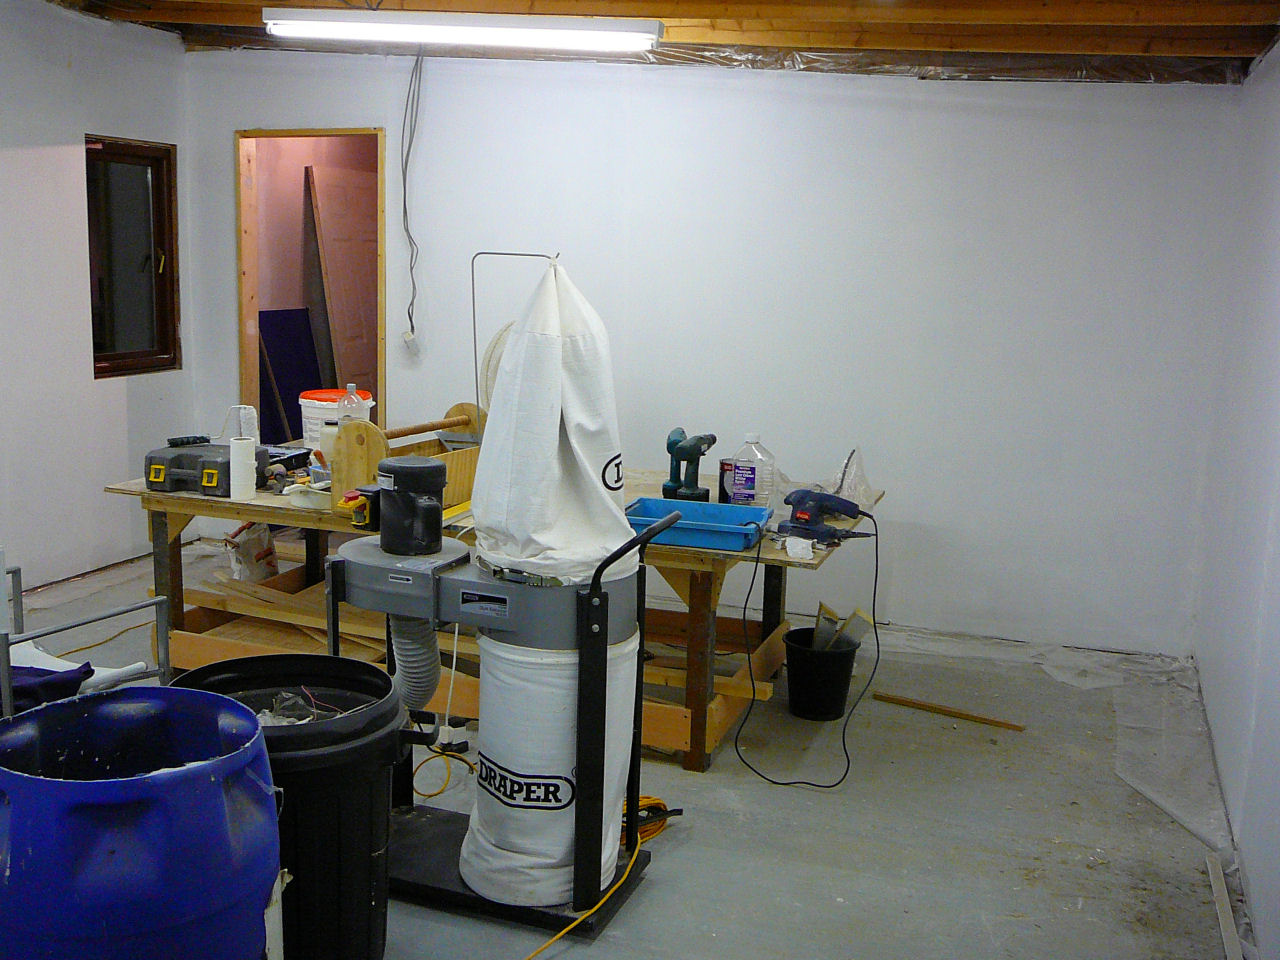
Well the painting is complete in varying shades of grey and work has started on the ceiling... A layer of 4" rockwool was pushed into the gaps between the ceiling joists (in 28 degree heat by my housemates!), followed by 20mm thick sheets of celotex insulation. The difference in temperature between the workshop and the room next door (office) is easily felt with this insulation in place since it prevents the flat roof acting as a giant radiator - well worth the effort.
Several different ways of decoratively hiding the Celotex were considered - polystyrene tiles (expensive), wallpaper (nasty), paint (messy) but I've eventually ended up covering the entire ceiling with black and white photographs of people and places that have featured in my life. Who says that 30-something is the age of being nostalgic?! IMHO, it looks better than it sounds - see the images below for work-in-progress.
Oh - and the provisional date for collection of the Mojo kit is in 13 days.... <gulp>
Interior during (7a) |
 |
|---|---|
Interior during (7b) |
 |
Interior during (7c) |
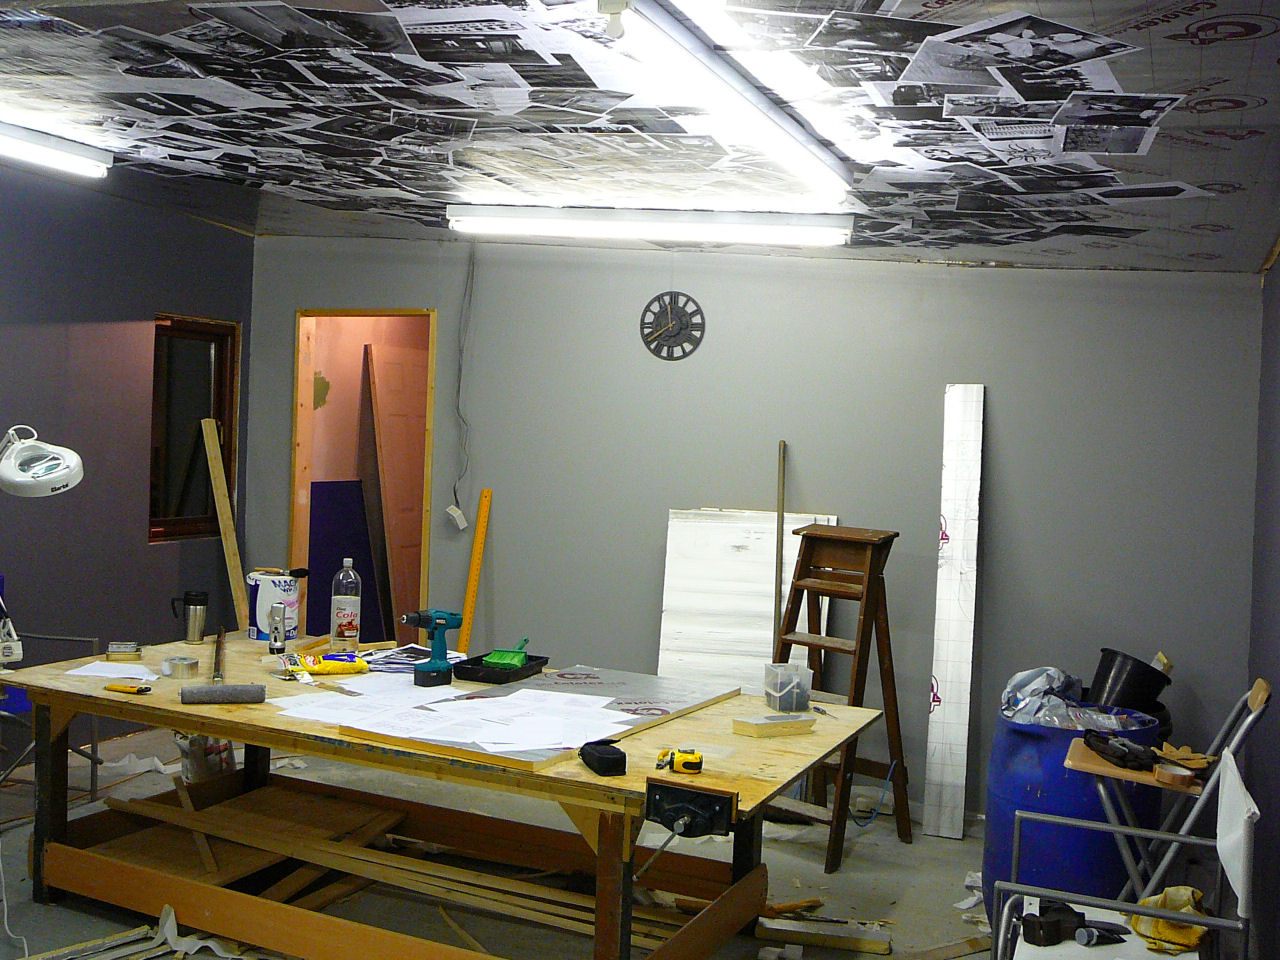 |
![]()
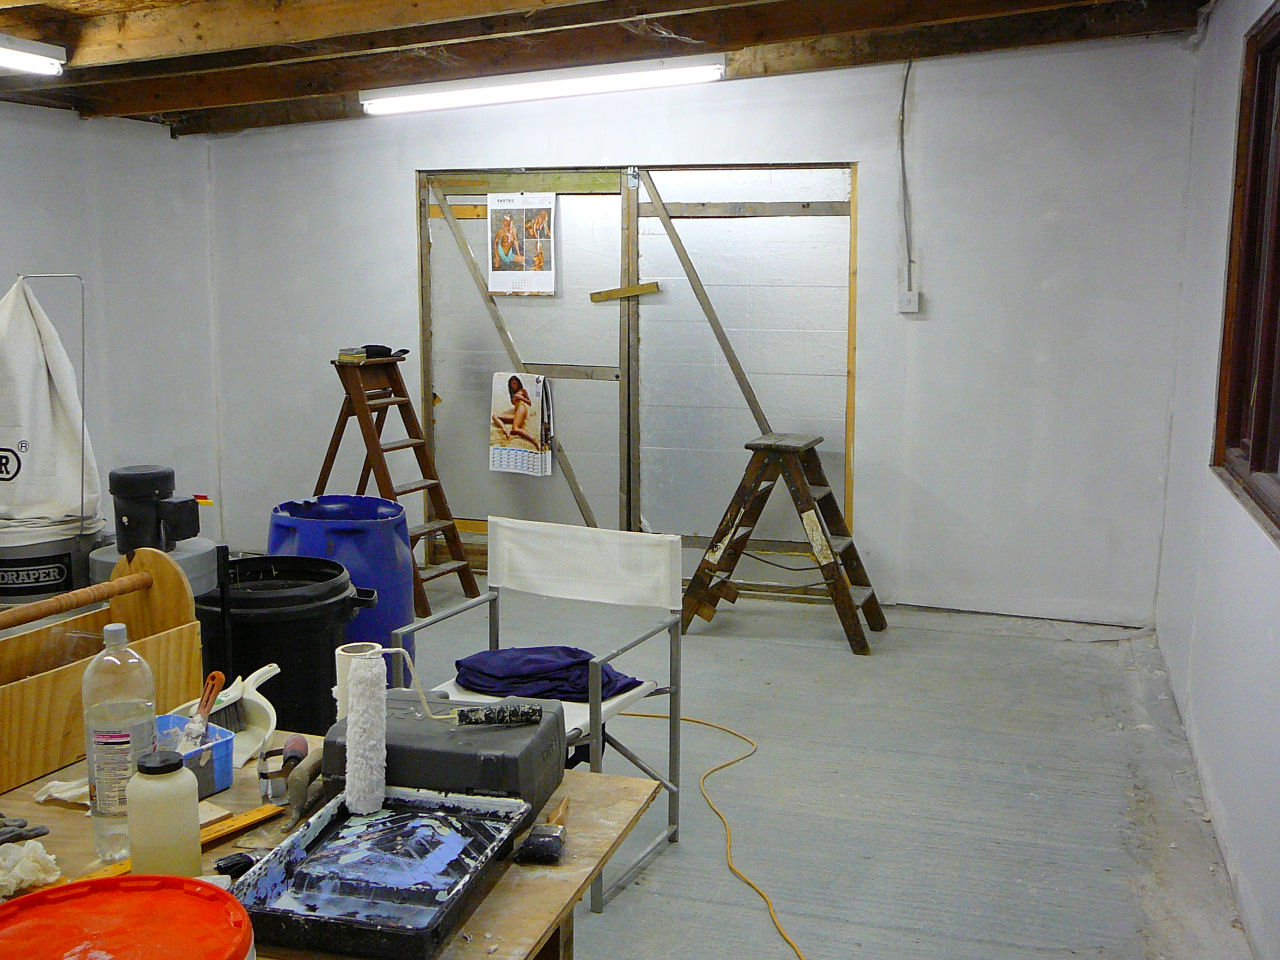
A weekend of concentrated effort from everyone has resulted in:
- A finished ceiling
- All electrics completed (conduit, wiring, sockets)
- Flooring laid
In all the ceiling has taken over 500 photographs (A4) to completely cover, all held up with standard wallpaper glue!
The wiring is a full ring main using 2.5mm2 T&E feeding a total of 18 13A sockets. With previous workshops, I've found that there is never enough sockets, or there is never one quite where you need it to be, so for this installation I decided to fit a double socket at 4 foot intervals all around the room. They've been fitted approx 1.4M from floor level since this is a convenient height to reach and it allows me to chop and change benches/toolchests/furniture etc without a socket being in the way. Well, at least that's the idea - and if it doesn't work out then I'll blame my cat 'Bovril' who aided me throughout the decision process by taking up residence in the workshop and snoring at a suprisingly high volume.
The flooring is the previously mentioned 8mm recycled tyre shreds which I must admit went down considerably more easily than I had feared! Having my wife and housemates on call to help move, cut, stick and hold down the sheets during this process inevitably helped - this is not something that would be easy to do on your own! The rubber has managed to take out the vast majority of the uneveness of the concrete floor, and it's now much more comfortable both on the feet and the knees! This flooring is quite hard to cut and now I think that I should've bought some shares in the company that makes Stanley knife blades before starting this...
Interior during (8a) |
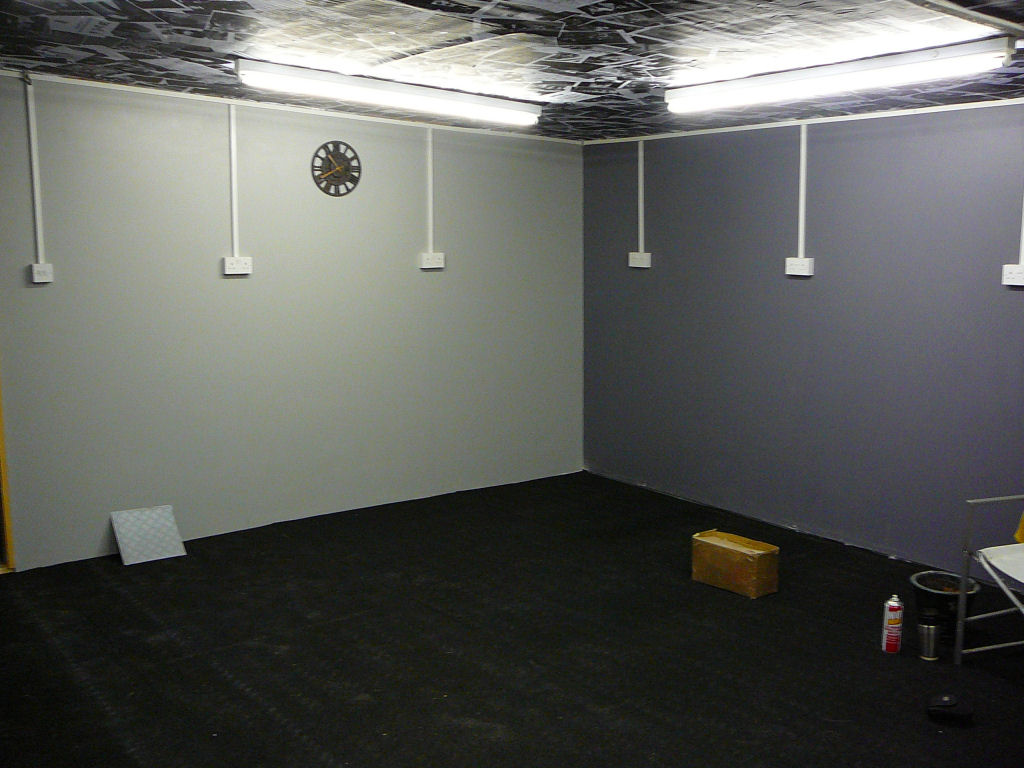 |
|---|---|
Interior during (8b) |
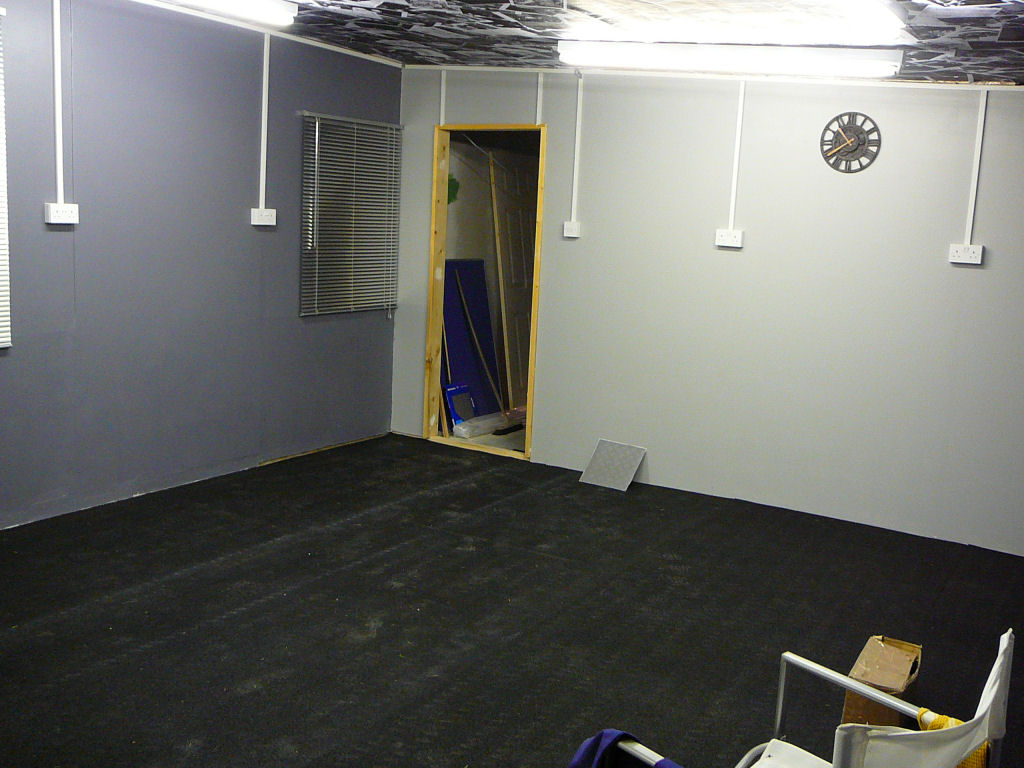 |
So - we're nearly there now... just some skirting to do (aluminium checkerplate effect vinyl tiles... watch this space) and a door or two to fit and the workshop will be habitable. Good news really since the kit collection is now only 7 days away and I haven't even started sorting out the donor parts I need to take with me yet!
Todo:
- 'Skirting' boards
- Door hanging
- Security alarm
- Sort out the workbench (more screws required - it's getting a bit wobbly...)
- Office, storeroom and entrance hallway <sigh>
![]()
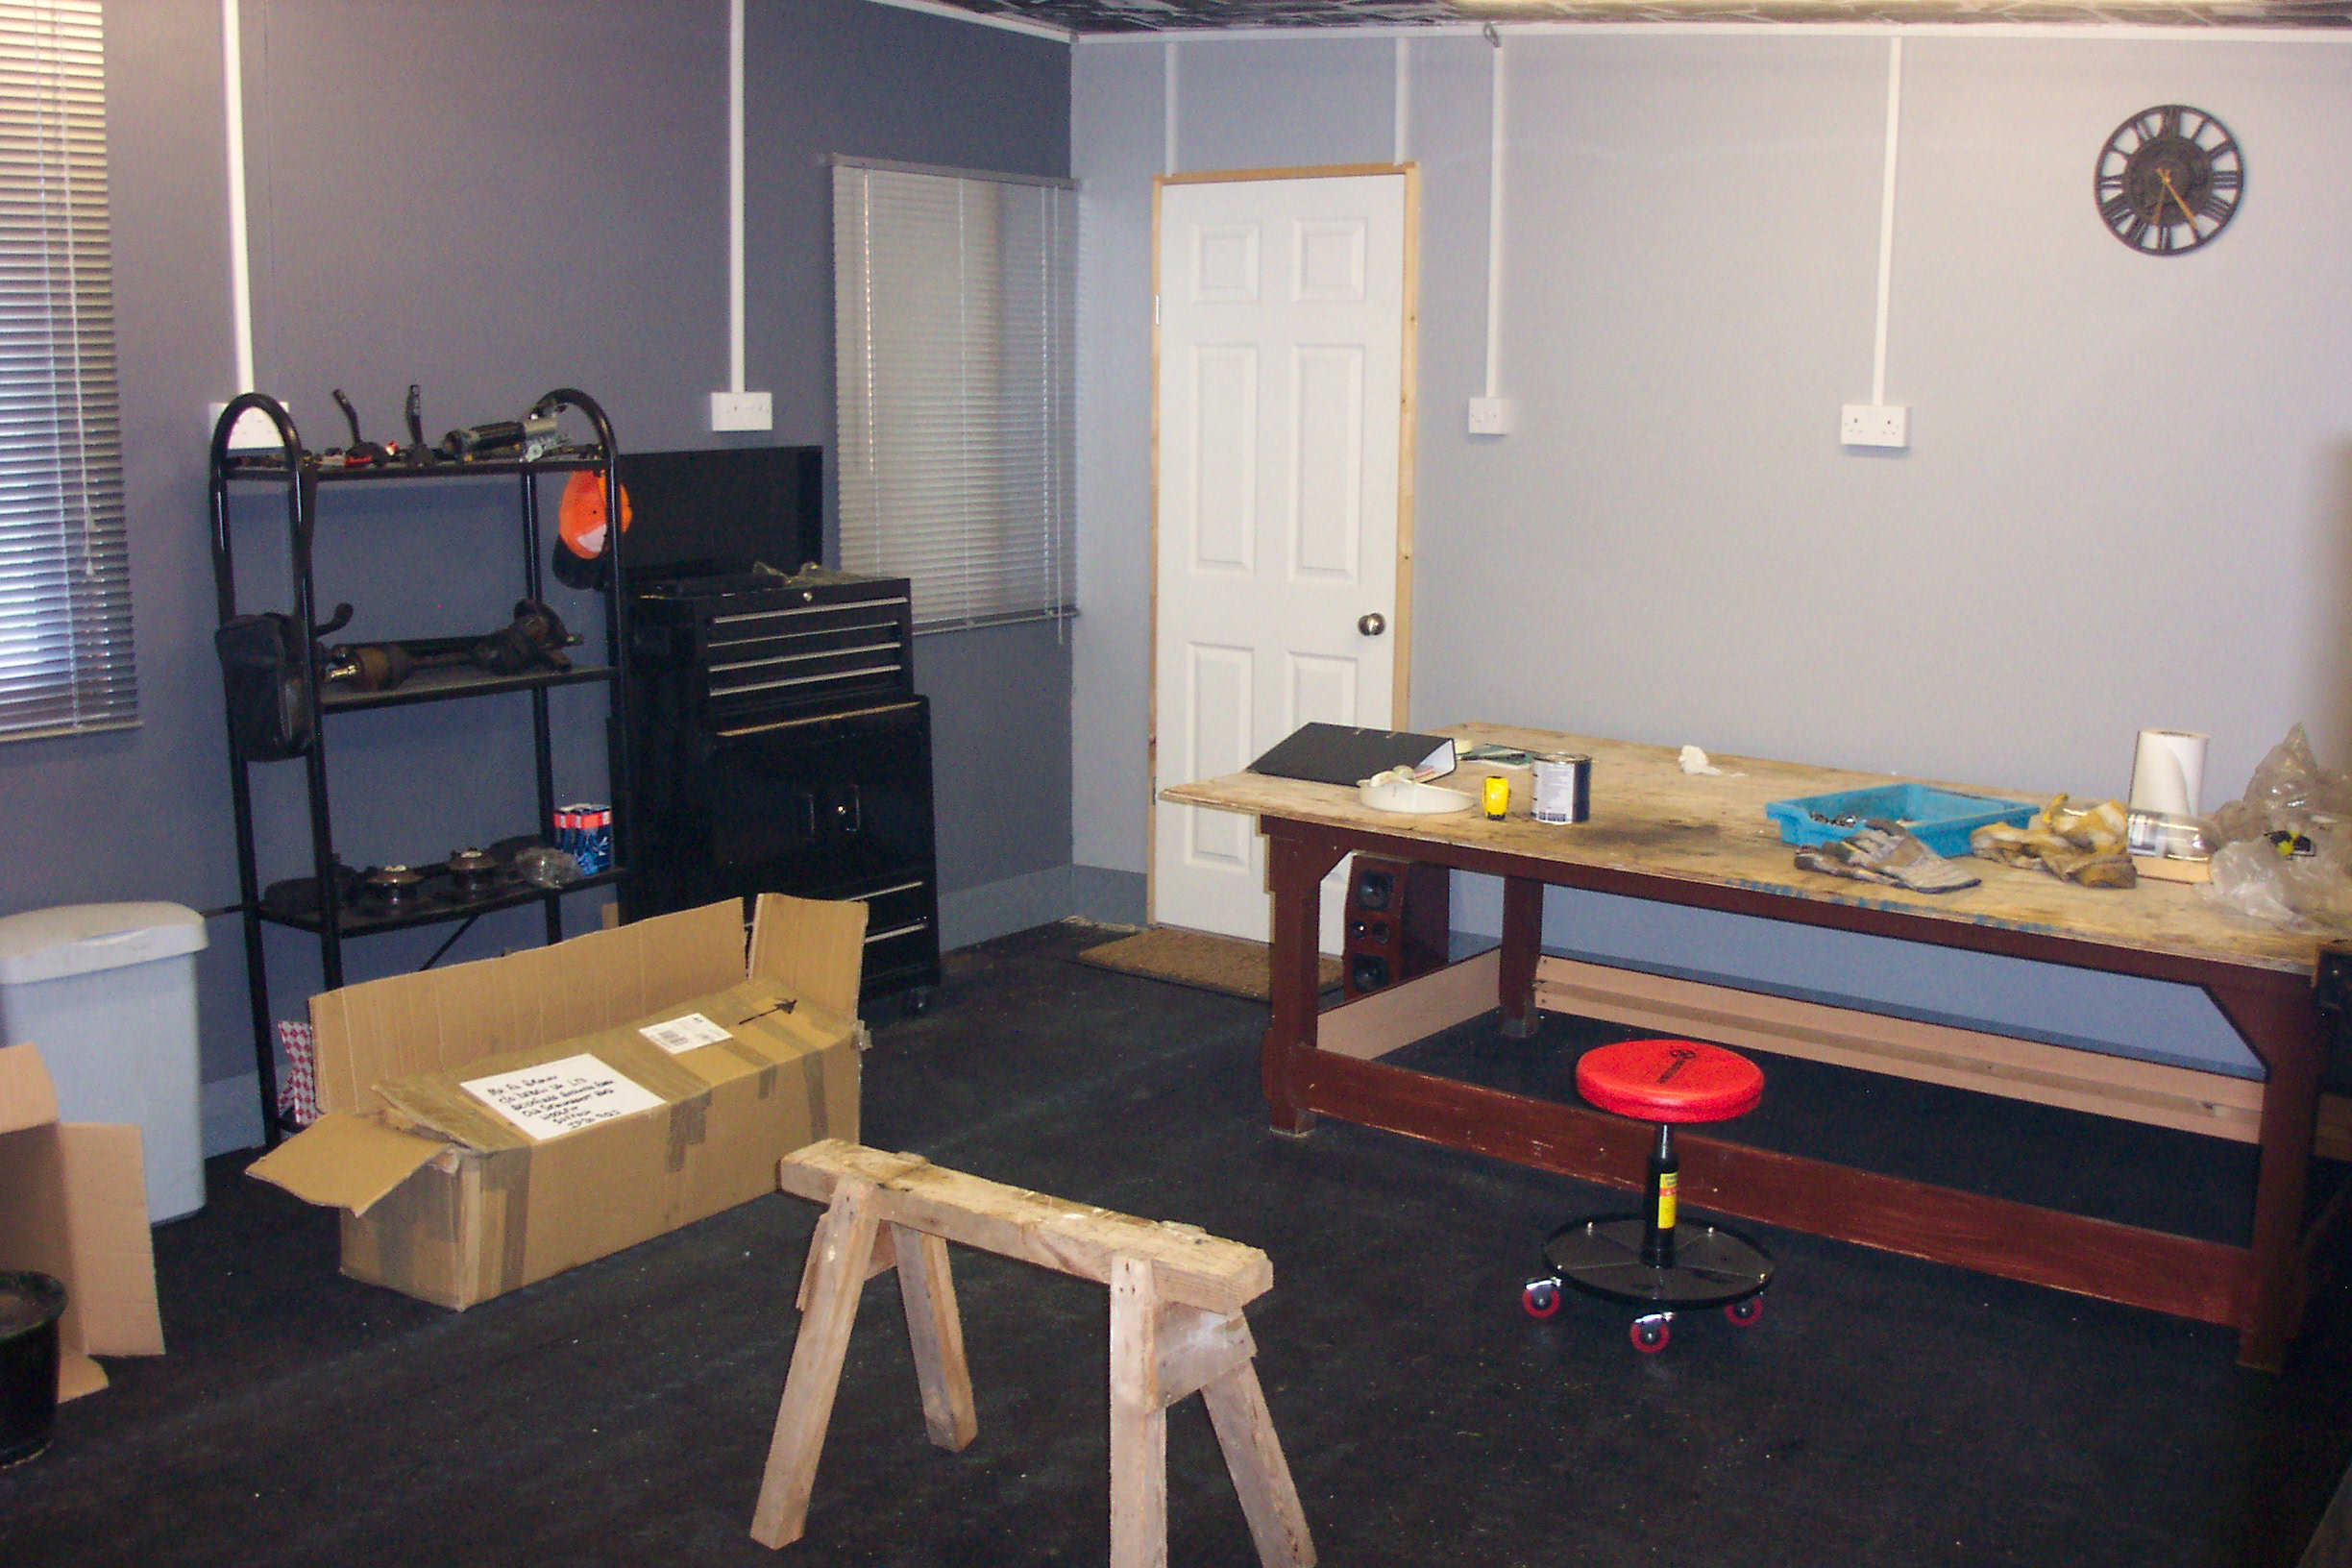
After a bit of furniture moving and some finishing touches, the workshop is ready at last! The refurb work on the donor parts has started, and now I'm just waiting for the phone call to say the kit is ready to collect...
Finished! |
 |
|---|