

![]()
I found out recently that I need to get my SVA application in before the end of this month, or I'll have to go for an IVA test! I have no particular concerns about the IVA since it essentially appears to be the SVA but with headrests. The bit I do have a problem with is the massive hike in pricing for the new test! I must get my application sorted asap..
So, the first thing I did this month was to sit down and make a list of all of the jobs still left to do! This was both an enlightenment and somewhat of a mistake.

You may notice that a couple of jobs are repeated and the numbering is not always sequential - this is because I scribbled this list at about 3am when I was having a bout of insomnia, and added to it as I thought of things. Maybe stronger coffee was required? Anyway - I've set about completing some of these jobs, although there always seems to be an inevitable list of dependencies that stop you doing the jobs in the order you expect.
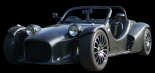
Let's start with an easy one. I've fitted some replacement amber bulbs to the side repeaters and lengthened the wires.
There. That was easy. We're on a roll..
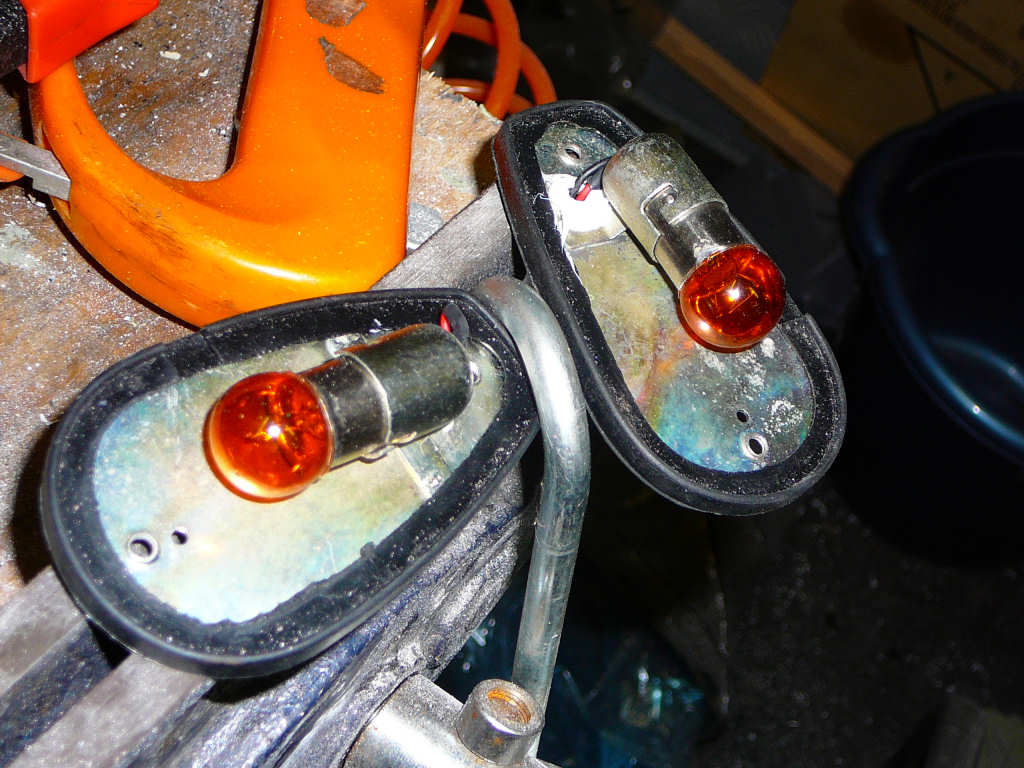
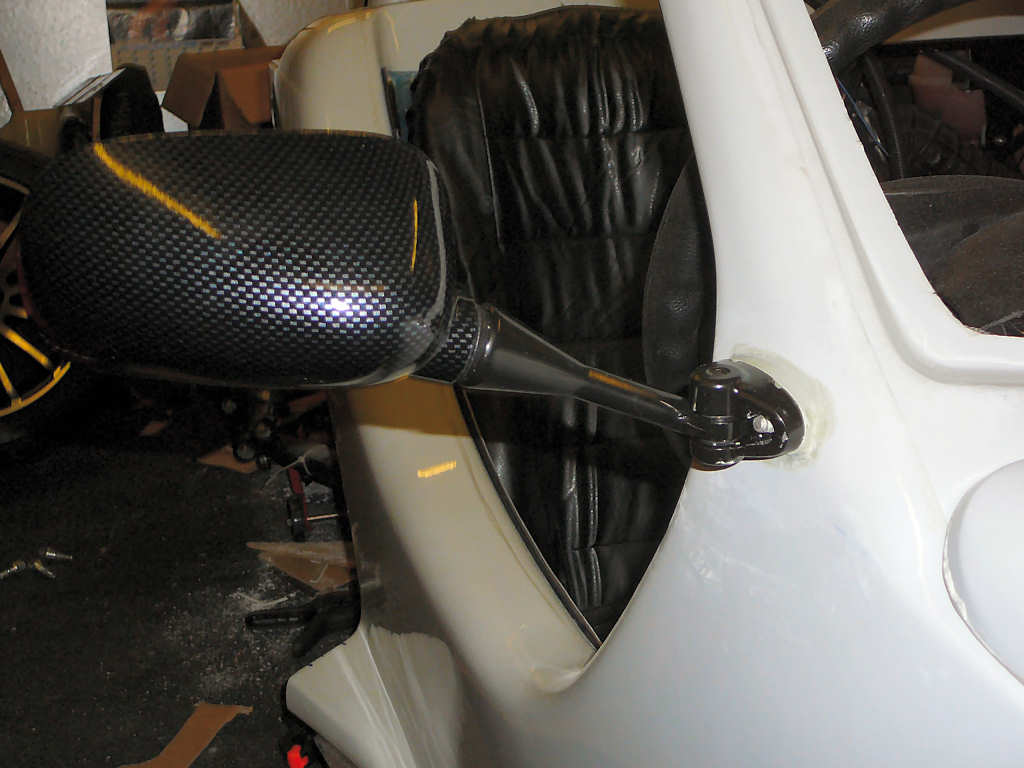
My replacement wing mirrors arrived from Car Builder Solutions, so I thought I'd fit these next. I've seen a couple of other build diaries where similar mirrors have been used and they always looked to be sitting at a slight angle. This is because the pivot points on these mirrors don't have a particularly large angle of adjustment. The solution was to mount them onto a more level platform made from some filler. The first step was to cover the mirror in plastic bags and sellotape to stop the filler coming into contact with it. I then drilled a couple of 6mm holes in the body so i could bolt the mirror on to hold it in place. Before bolting them however, I mixed up a blob of filler and slapped it onto the body in the spot where the mirror will sit. I then squished the mirror into place and held it with the M6 bolts. These bolts weren't tightened, just adjusted until the mirror sat about level. A wet finger then helped to smooth out the filler into an approximate shape.
Once the filler had set, the mirror was removed and the filler sanded down. The mirror now sits fairly flat with all of it's adjustments approximately central. This means that I'll always have a little more adjustment available if needed. Tick that job off the list...
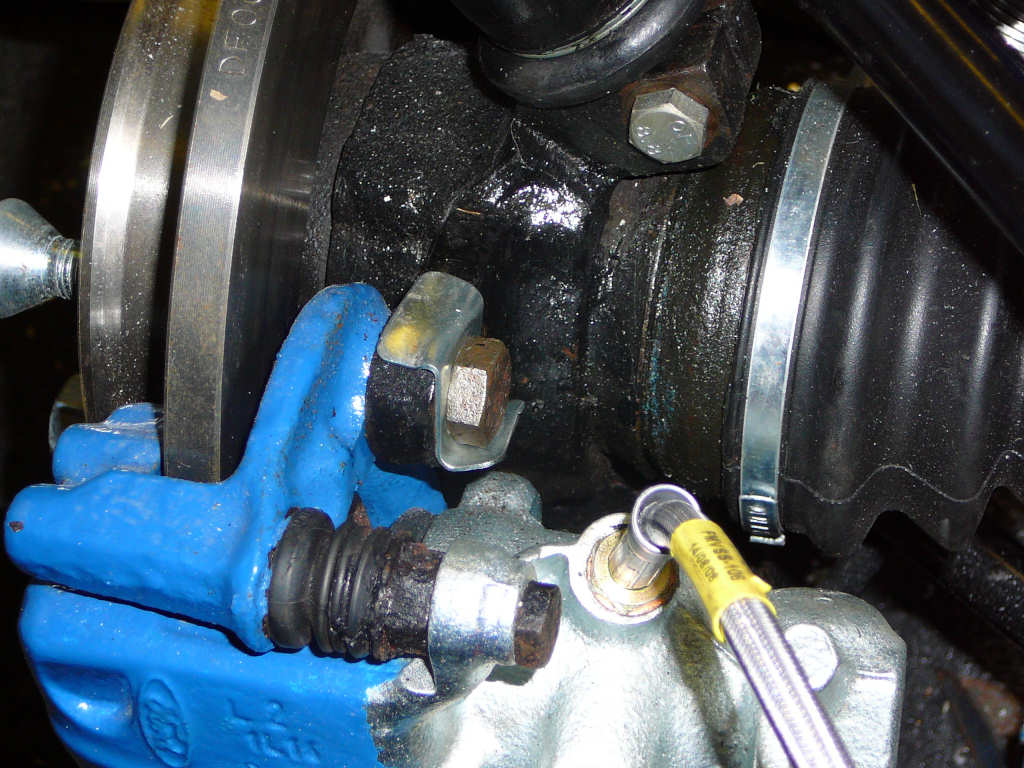
While rummaging around in 'The big box of Mojo bits' I came across these parts.
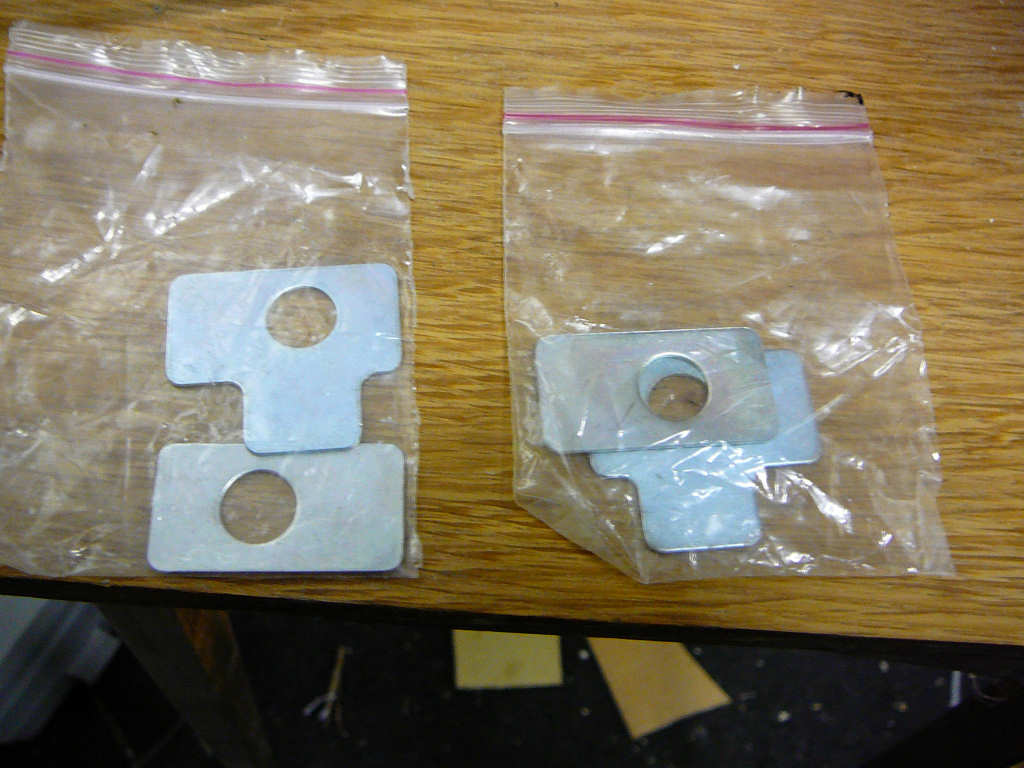
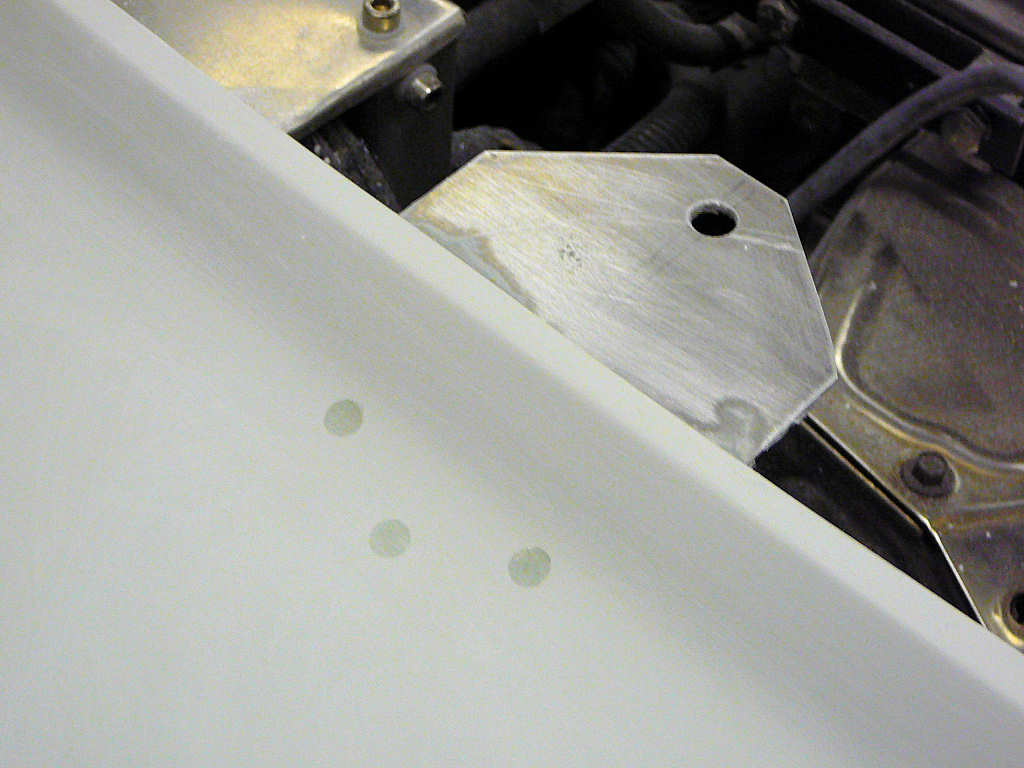
Now I remember seeing these when I first got the chassis kit some months ago and thinking 'What the heck are they for?' However, I never got around to asking anyone and completely forgot about them until now. I now know that they're supposed to go behind the bolts that hold the Sierra calipers onto the rear uprights (see what you learn from reading the SVA manual?!). This caused something of a problem since these calipers were now on the car and had been torqued up tight. Anyway - they had to come off so a bit of a huff and a puff later and the job was done. I then fitted these plates and bolted the calipers back on. It would've been a lot easier to bend these over correctly before the hubs were fitted to the car but I think I've just about managed to get them doing what they're supposed to. Another job ticked off.
The time has come for me to make a decision regarding the fuel tank breather - buy a new one or drill a big hole in the fuel tank? There's a photo of one in the build manual (the red anodised bit) but it costs about £20-25 and is (apparently) supposed to be fitted vertically?
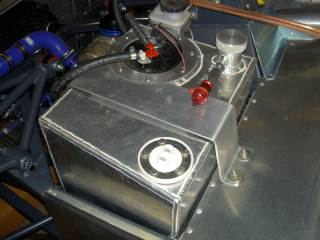
When stripping the Fiesta, I removed the tank breather/rollover valve from it and put it into the parts box (just in case). Now realizing that this was the perfect solution, I decided to get it fitted to the tank. To do this, I removed and drained the fuel tank and drilled a hole in the top to take the breather. I put a coffee jar inside the tank to catch the swarf, and then rinsed it out with some more petrol. With a bit of persuasion, the breather popped into it's hole and looks to be a good solution. I've added a length of fuel pipe to it's outlet just because I had some left over, and I've blocked up the original 'breather' hole in the filler tube.

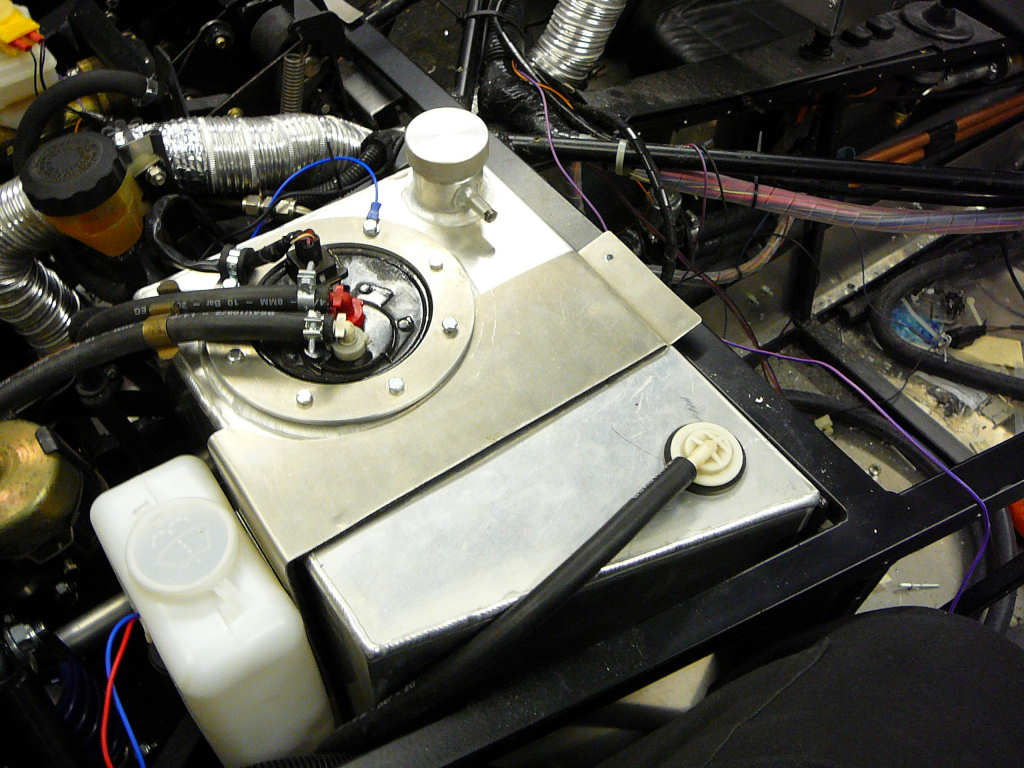
Since I had the fuel tank out, I thought it would be a good idea to check the fuel gauge reading as this will be harder to adjust when the tank is full of fuel. The Fiesta level sender gives readings between 60 and 200 ohms (or thereabouts) but the Koso gauges I am using need a signal between 0 and 150 ohms. In order to achieve this, I modified the sender to remove some pad resistors to give the required reading. Unfortunately, I didn't take any photos of this part, but I did get a photo of the gauge reading half full. it may not be the most accurate fuel gauge in the world, but I'm sure I'll soon get used to it!

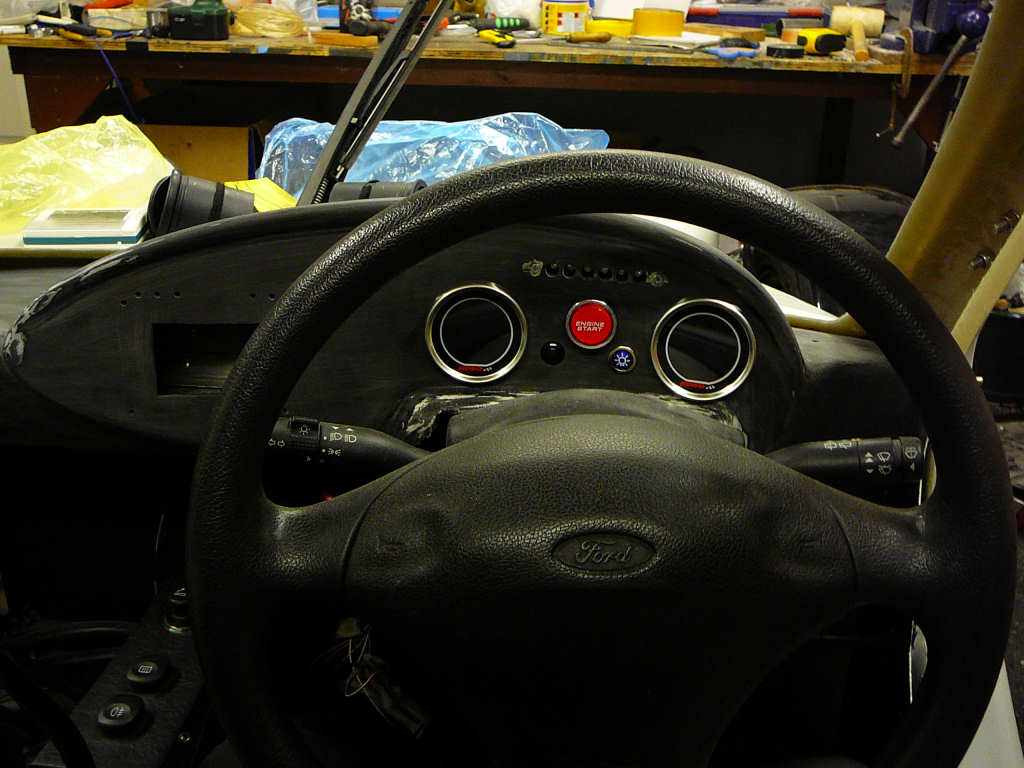
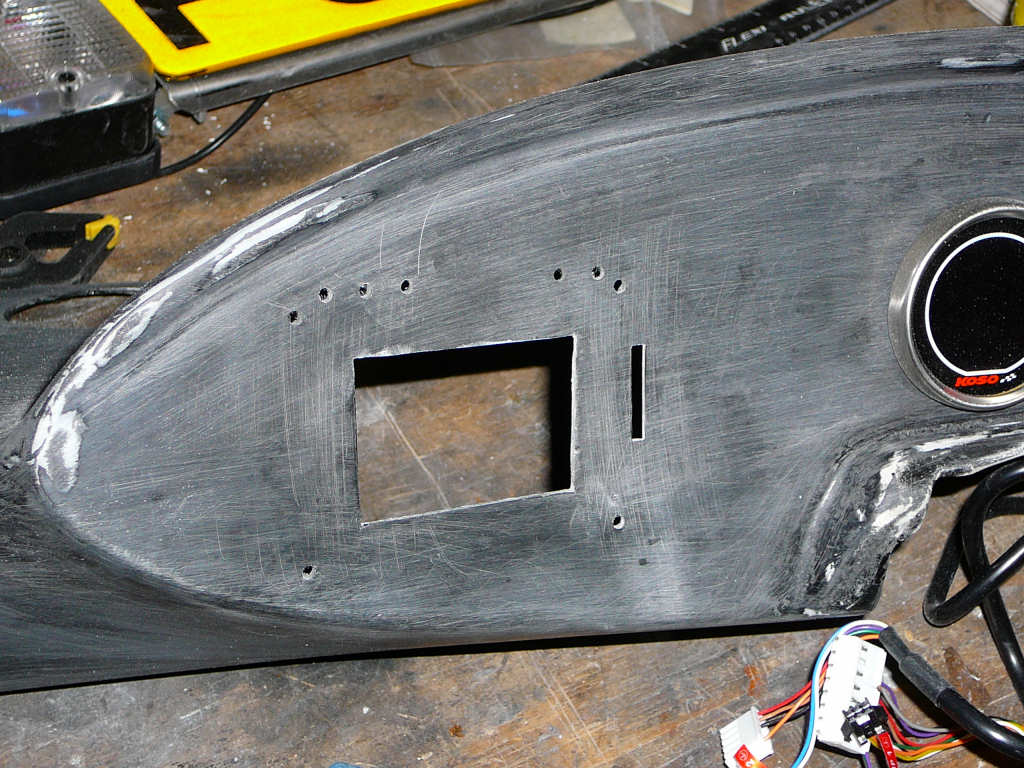
On the subject of dashboards and gauges, I finally summoned up the courage to drill the large square hole for the touch screen controller.
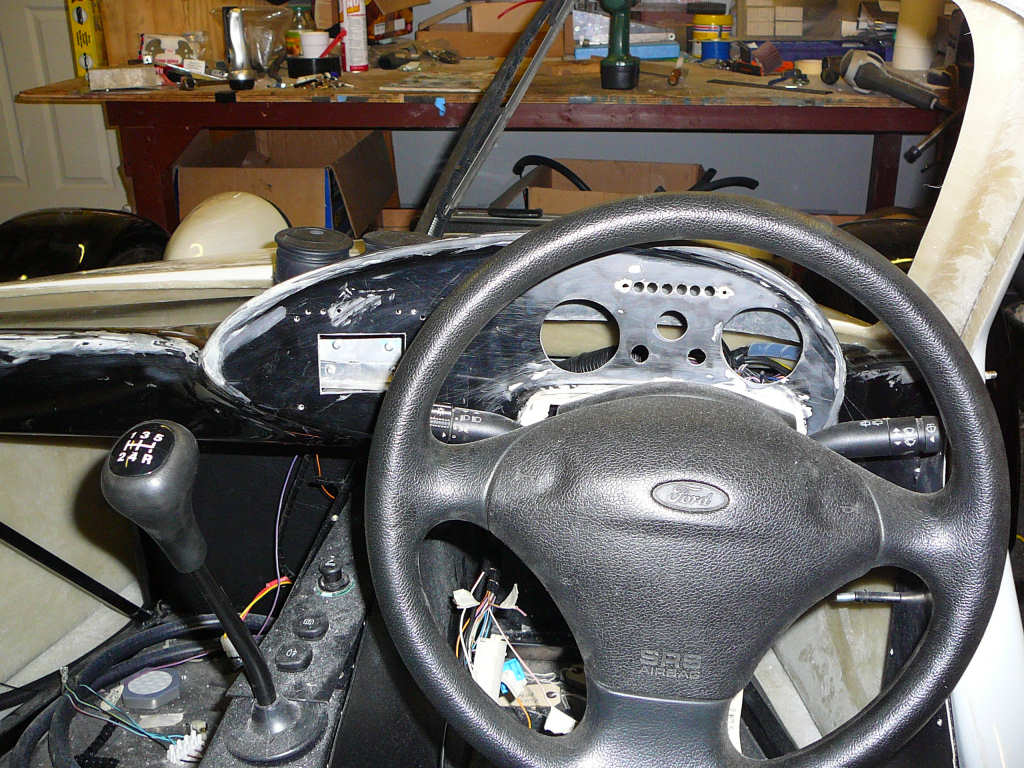
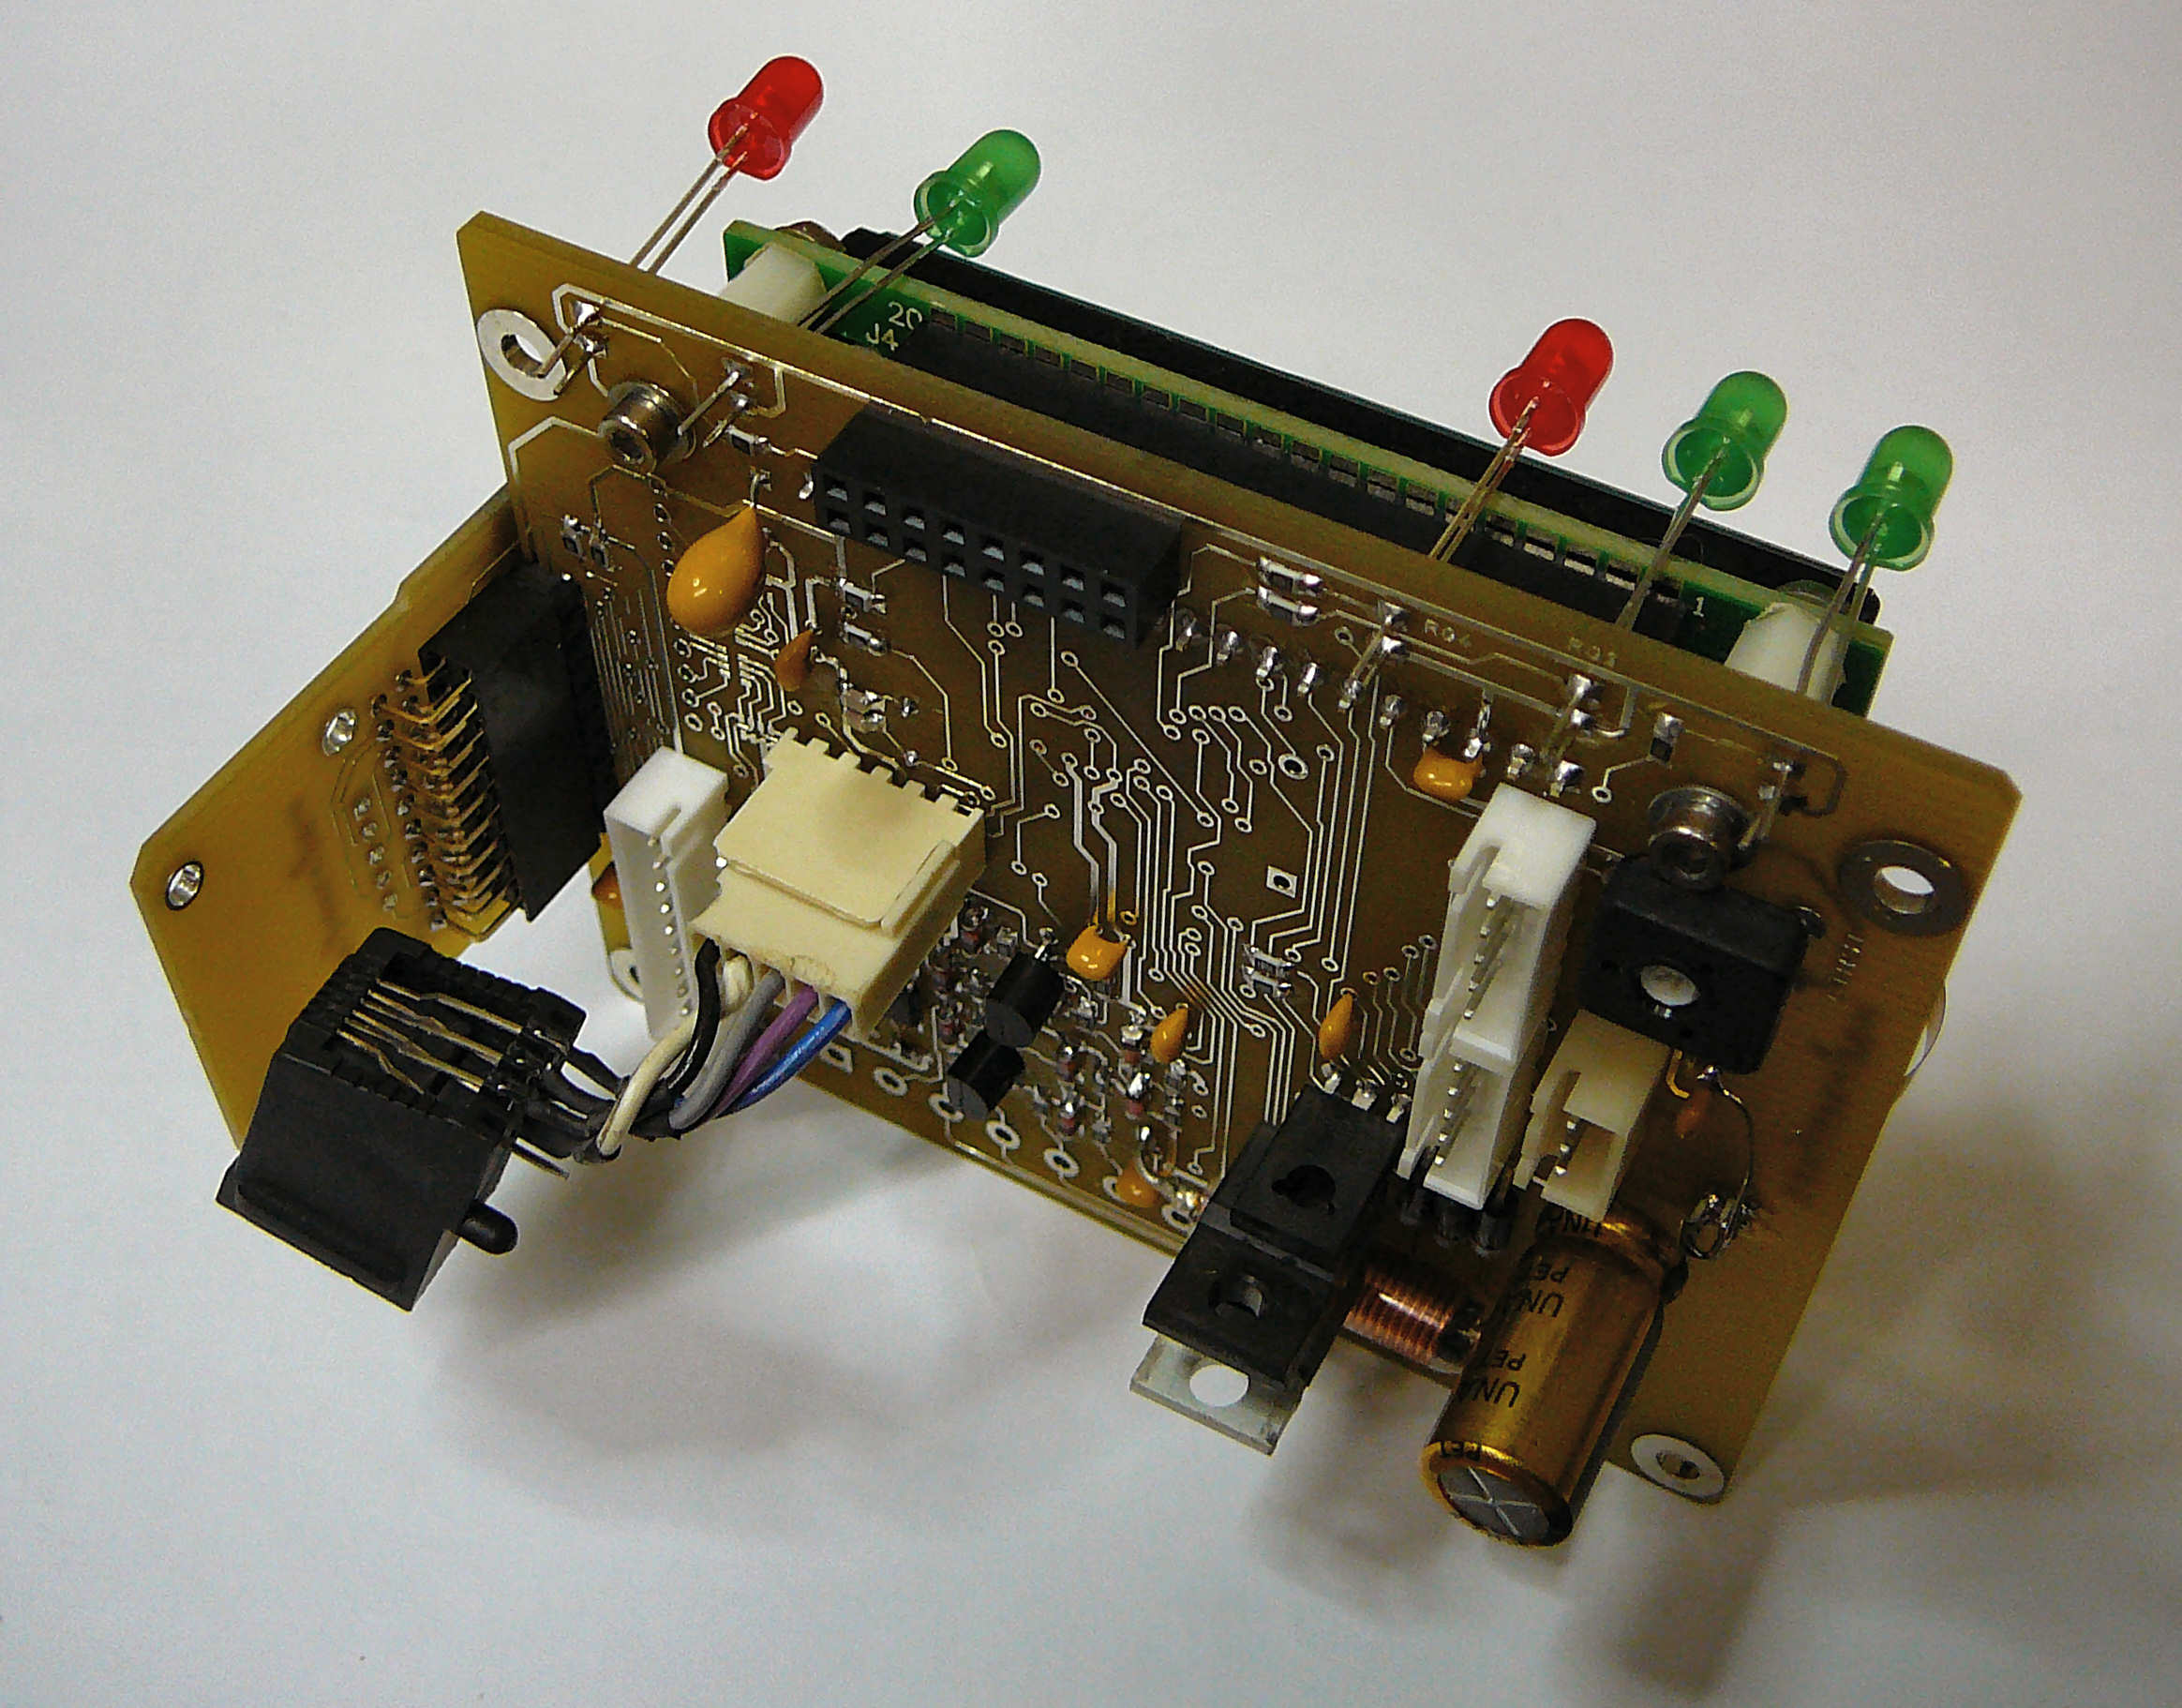
I've also received the printed circuit boards for the controller and fitted all the components. It's early days yet, but so far I've got the touch screen working, and I can read and write to the SD card (to be used for data logging). I'll probably prepare another page to describe all the tedious technical details of this system but for now here's a photo and a rundown of the anticipated features:
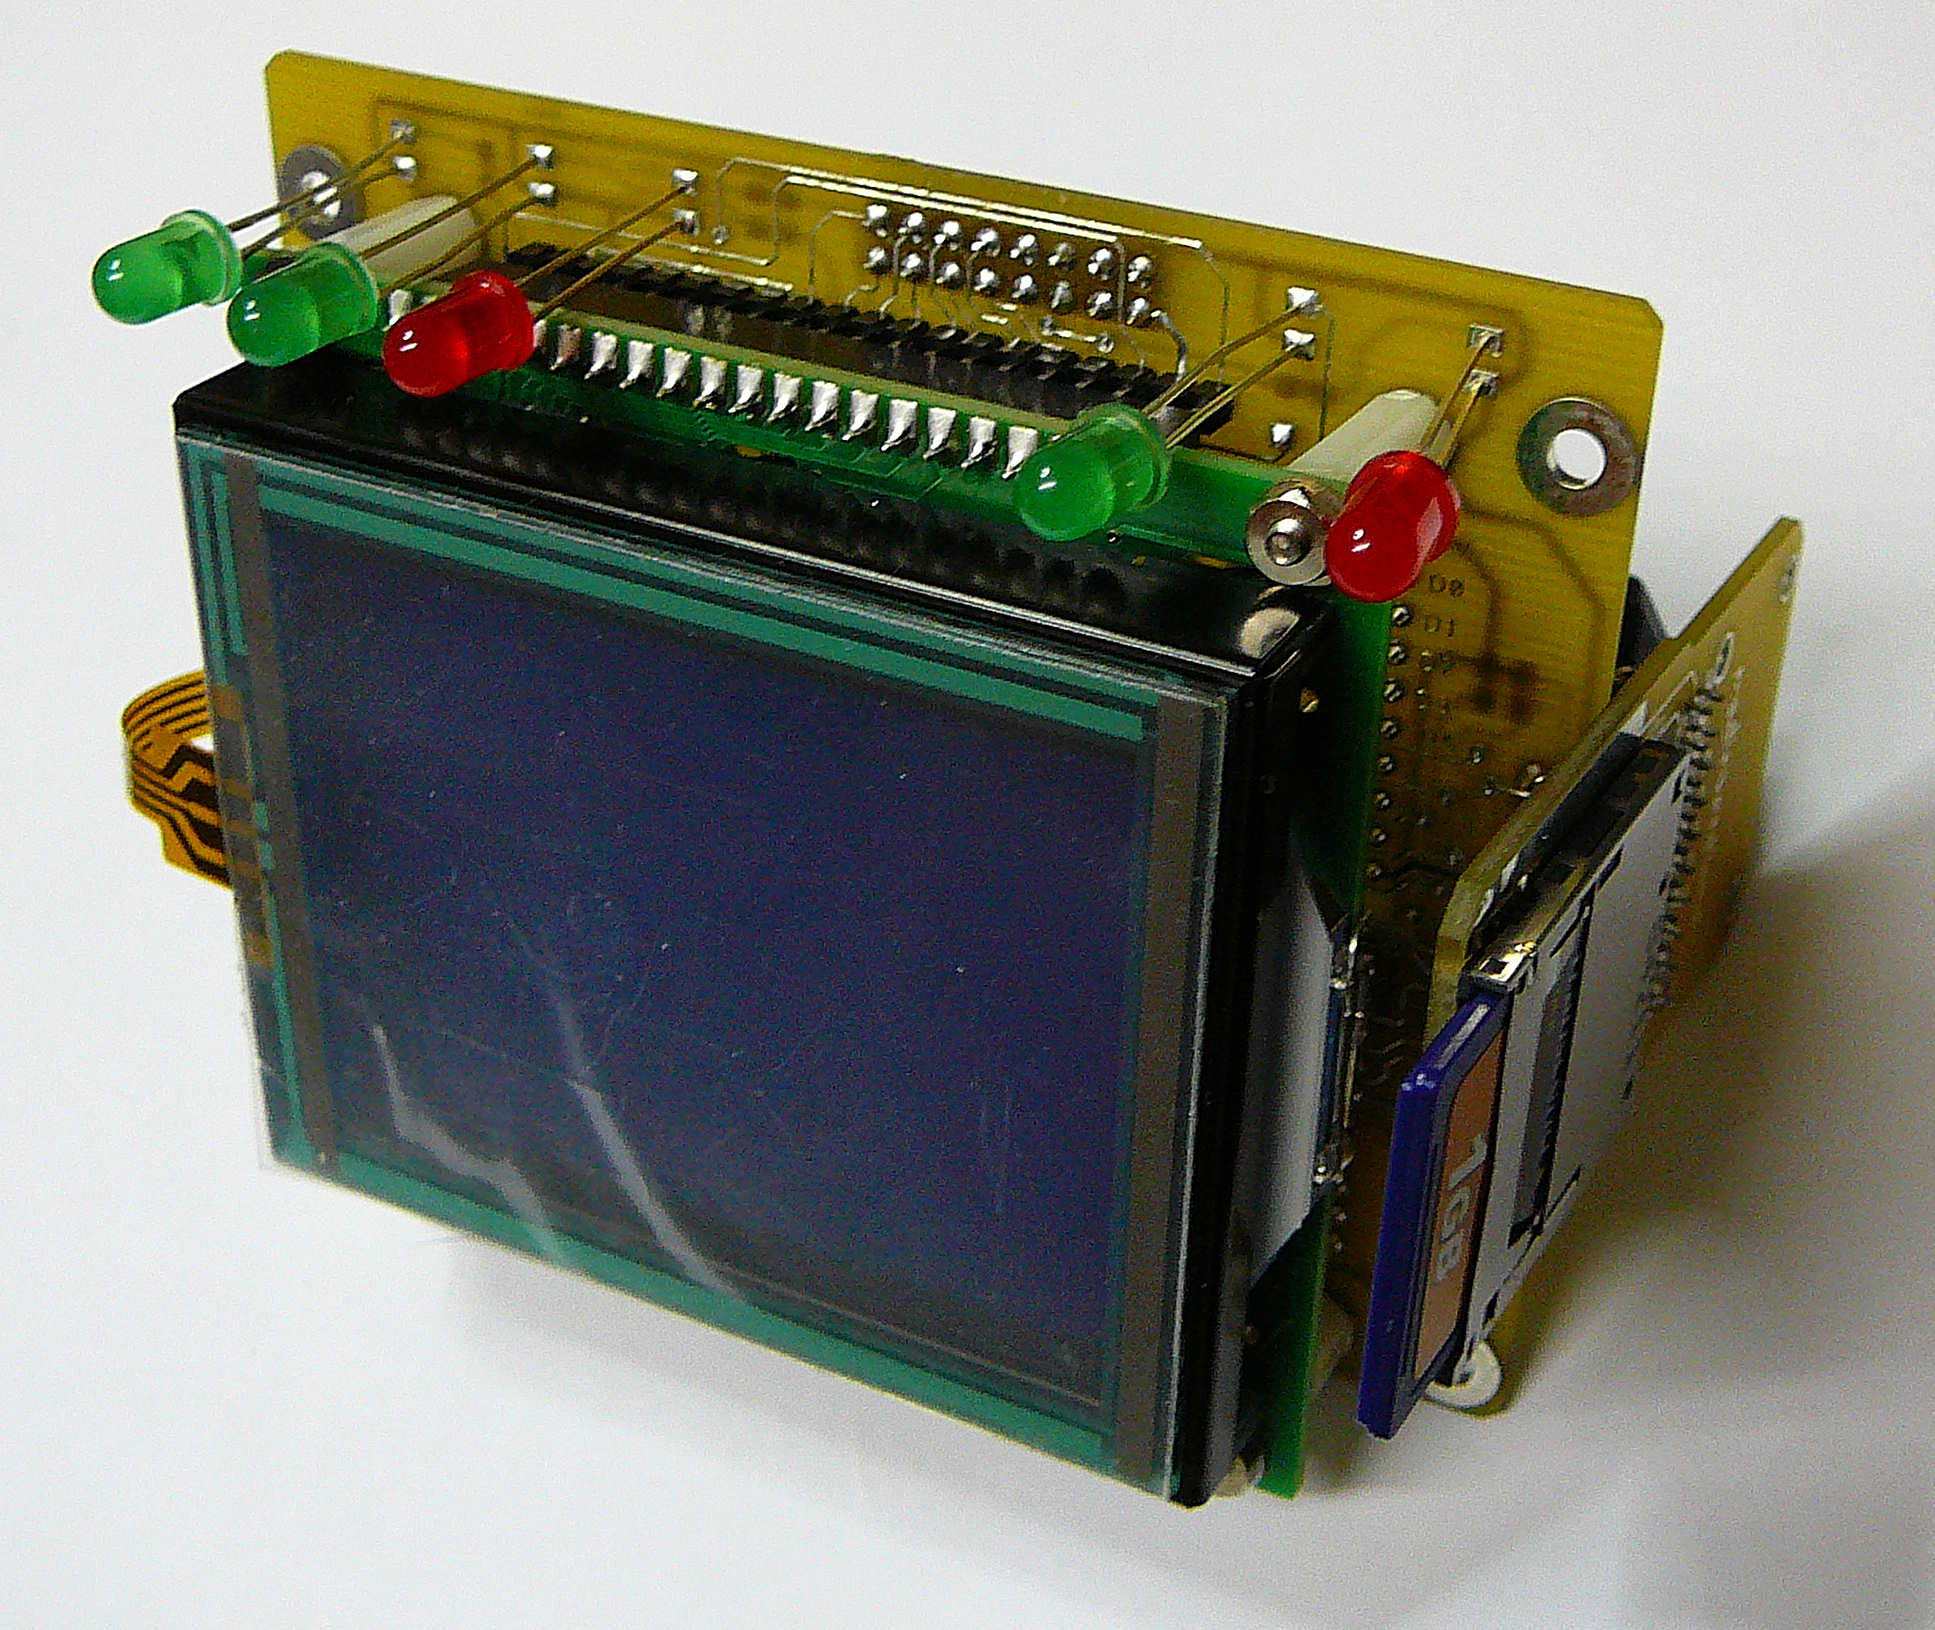
- Touch screen 128 x 64 pixel monochrome LCD.
- 3 axis accelerometer for measuring G forces. This will make roundabouts more fun.
- OBD interface to talk to the ECU. This gives real time data such as engine load, coolant temperatures etc and will show a message if any problems are detected.
- NMEA GPS interface. I've got an old bluetooth GPS receiver that I've modified to work with this system and this will give real time data for position, speed, time, direction etc.
- Speedo and Tacho interfaces. The system can read directly from the speedo and tacho signals from the wiring loom. This will give me the ability to measure and record these values and to use them for calculating 0-60 times and other such useless information.
- SD/MMC card slot. This can accept a standard SD card which I can use to log any of the above data whilst driving. Being a total geek, this kind of information may be interesting to review?
- Programmable LEDs. There are 5 LEDs available and the idea is to use 3 of them as shift lights, and the others to let me know the status of the system (writing to SD card etc).
As I said, it's early days and I don't want the development of this to interfere with the deadlines I've got for the rest of the build. Besides, I can use the car without this being completed, but not the other way around. Just as long as it looks finished enough to justify during the SVA!
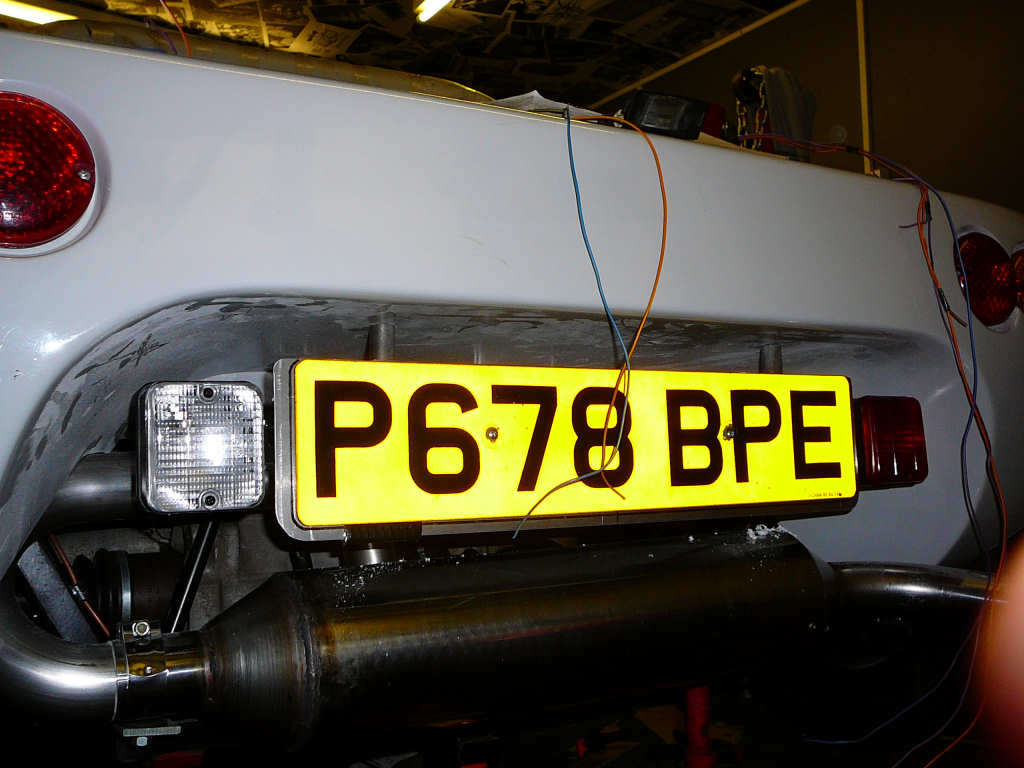
The final job I've completed off the list is the rear number plate bracket. I've used the old number plate from the Fiesta as a template and cut a sheet of 1.5mm aluminium that is 10mm larger all round. This will allow me to fit the rubber edging required by SVA. Two angle brackets are fitted to it at the top which let's me fit it to the body with some long M6 bolts and 1" spacers (made from leftover Astra gear linkage material). The fog and reverse lights are also fitted to the bracket and I need to get the wiring to these finished off next.
![]()
Well, I've sent off the forms for the SVA test along with photos and declarations with a request for a test on March 26th. Gulp!
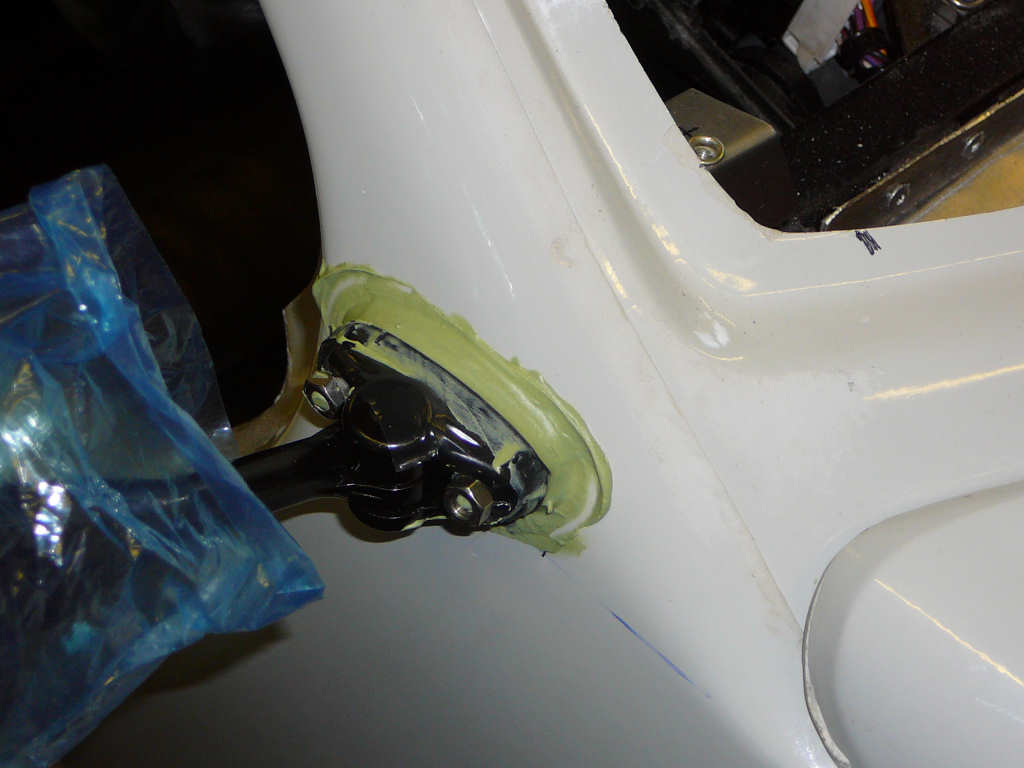
On the subject of SVA, I got an email from fellow Mojo owner Michael B shortly after uploading the previous update. In this email, Michael kindly pointed out the potential problems of fitting the wing mirrors where I had - namely that they would almost certainly fail at SVA! I quickly read up on the test required (see a line on the floor 10mtr behind the mirror line) and decided that the mirrors needed to be moved up. So, out with the body filler and 6mm drill, and the wing mirrors are now here:
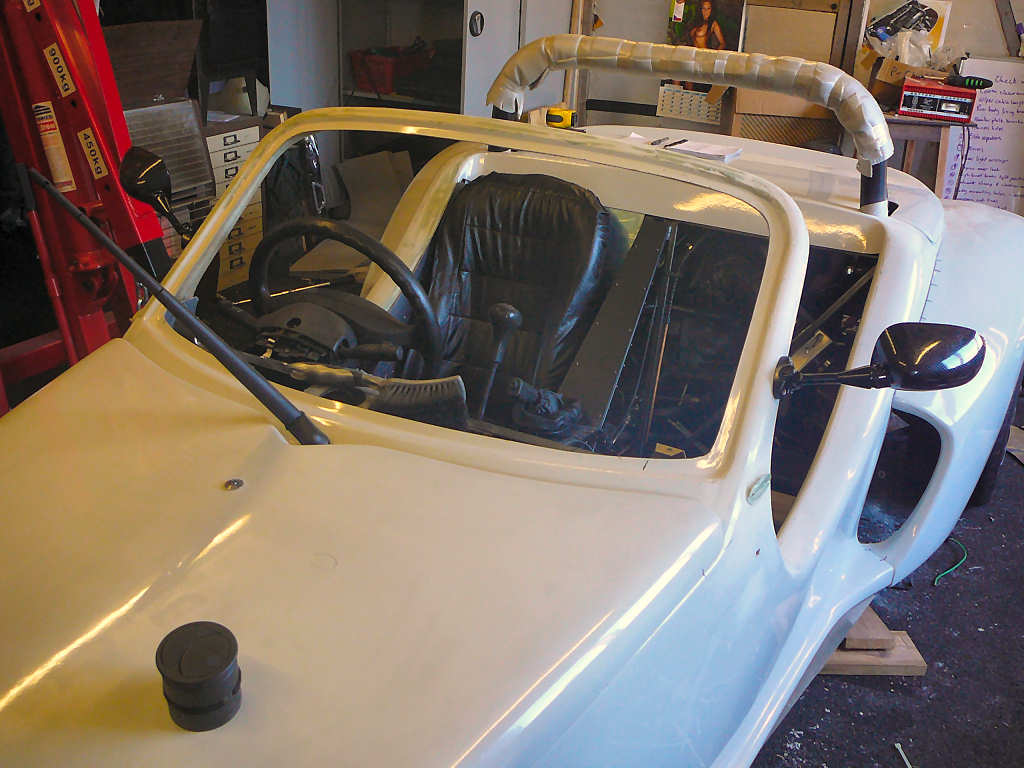
I'm not sure if I like them here or not, so they may well move shortly after SVA. I've also removed the mounting bosses described before so that there is no evidence of the old position.
I've also finally got around to limiting the travel of the steering rack. It was close, but the tyres just fouled the bodywork at full lock so I've used some jubilee clips and 32mm rubber hose to shorten the travel by about 5mm each end.
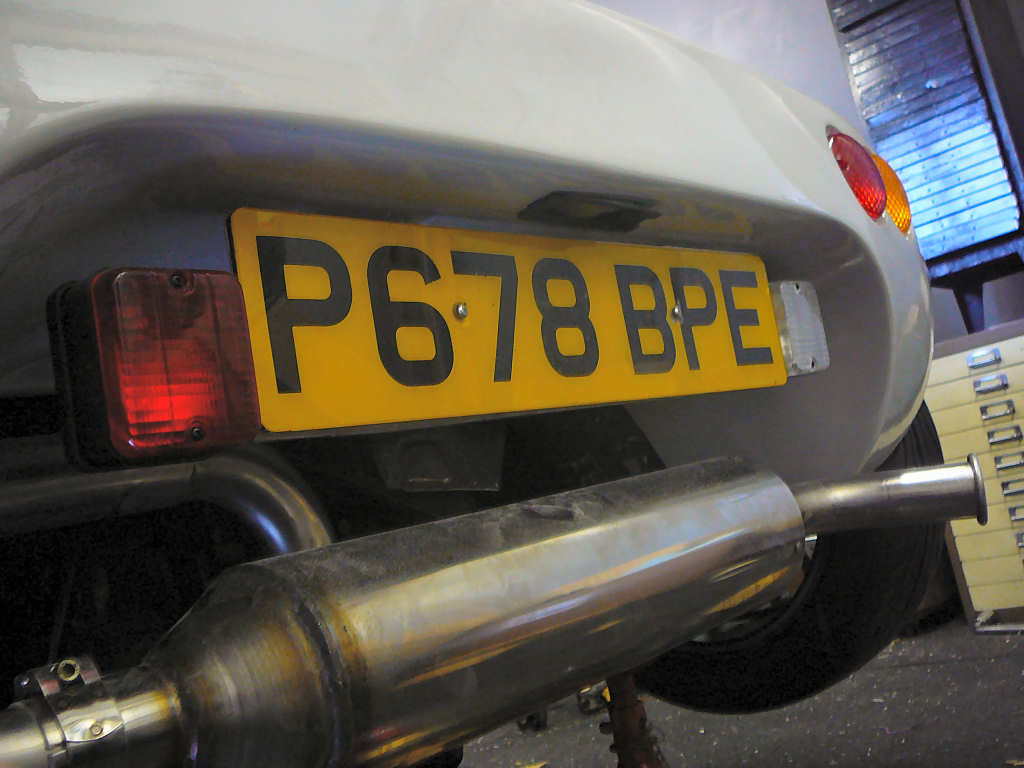
The rear number plate has been moved upwards also to make things a bit more sturdy. The eagle-eyed amongst you will notice that the fog light is in the wrong position in the photo below - I'll swap this over when I do the final fit.
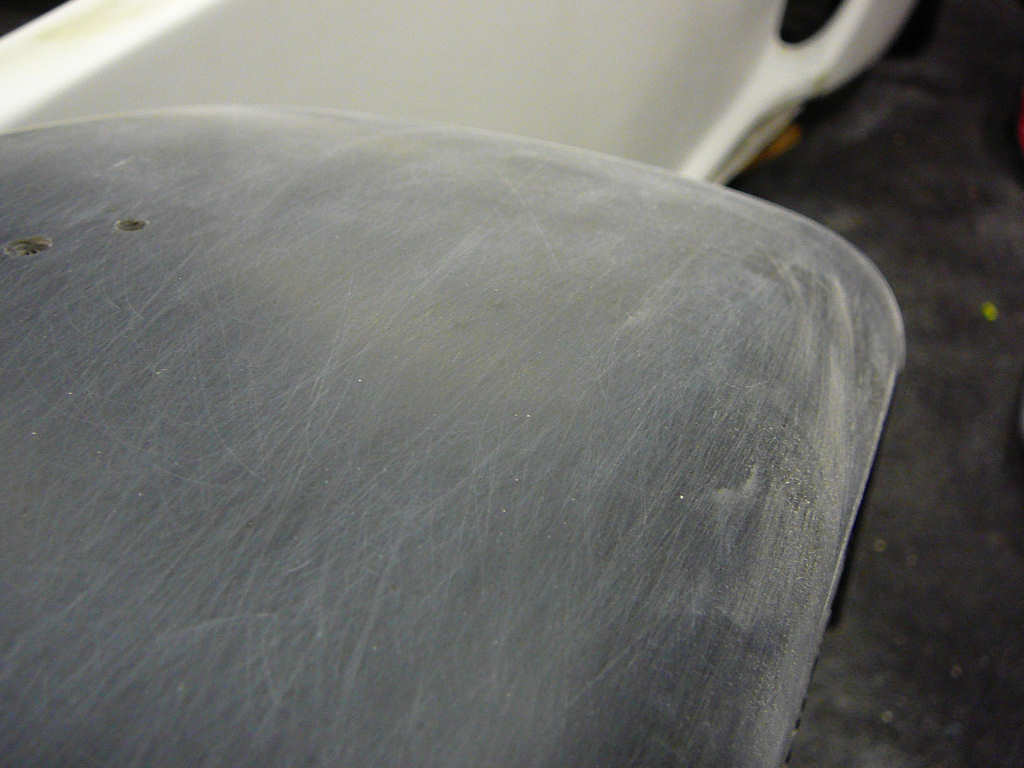
The only other thing that's really been happening is an absolute frenzy of bodywork sanding. This has taken a very long time and has mostly been completed by hand using 180 grit paper - I even had my wife helping over the weekend sanding the cycle wings, and now I've just got the engine cover and bonnet to do <sigh>. I'm hoping to get the body over to the painters later on this week but only time will tell..
![]()
Another round of odd jobs have been completed recently.
I did an idle test where I left the engine running for a total of around 45 minutes to monitor temperatures and check for leaks. No real problems were found which is good, but I did notice that I've put the new coolant temperature sensor into the pipe that is the return from the radiator rather than the inflow so it was continually reading the wrong value! This would've been a fairly simple problem to solve earlier while access was better but it turned out to be a bit of a pain. I also discovered that 'not bothering' with axle stands for a seemingly quick process was a bad idea. This was made vividly evident when the jack slipped and the Mojo dropped about 4 inches with a loud bang. No damage to the car, but my nerves took a pounding, and I lost about 2 litres of coolant on the workshop floor. It would've been less because I put a bucket under the pipes to catch any drips. However, I soon found out that a 99p plastic bucket does not have the requisite structural properties to support a kit car. 'Clear up on aisle 3' required...
While the floor was drying out, I continued by trial fitting the dashboard and finishing the prep work. I needed to check all of this because the dash will be going to the painters this week along with the bodywork (more later...)
Also during the idle test, I checked the demist heater. This works surprisingly well! To recap, I'm using a heater matrix from a mini and a 'bilge blower' inline 3" fan. I did notice that the heater duct from the matrix to the heater box was getting very hot (who could've foreseen that?!) and I had concerns that this would cause a problem during SVA. I ended up wrapping the duct in exhaust wrap - if it works on a hot exhaust, it should work on a heater pipe!
Apart from all that, sanding the bodywork has been continuing.
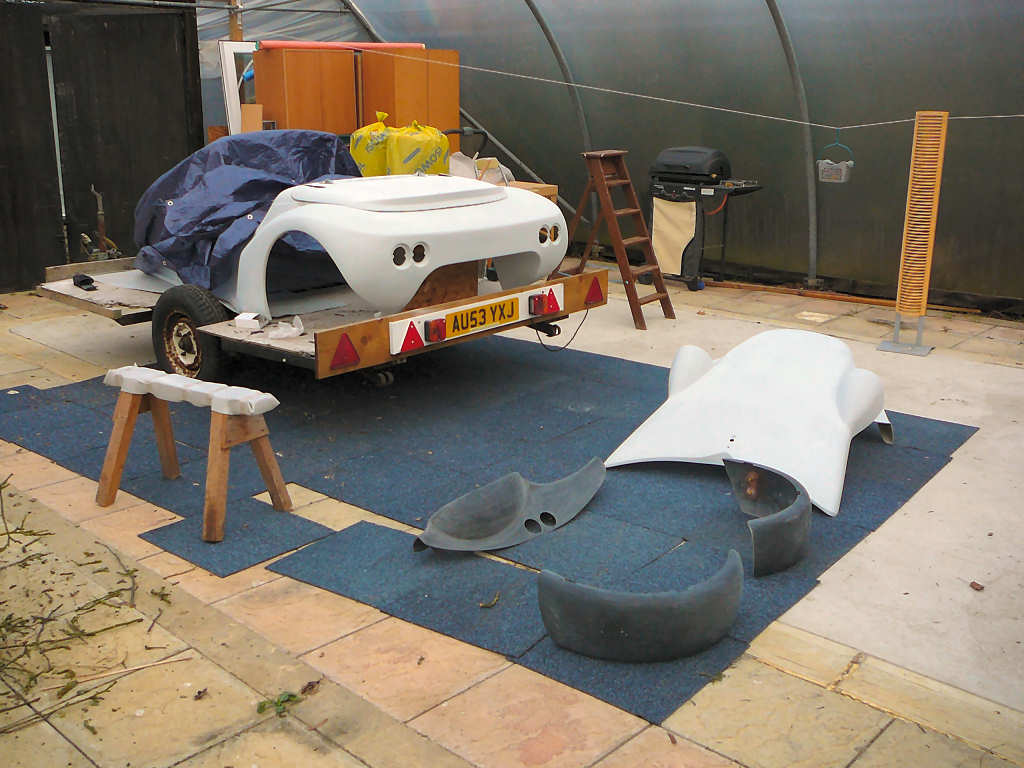
Thankfully, that is now finished and the body is ready loaded onto the trailer so I can deliver it to the painters this week. Given that it has been a surprisingly good weekend regarding the weather, I decided to reward myself (and to get rid of some of the dust from the chassis) and take the Mojo out for a test drive.
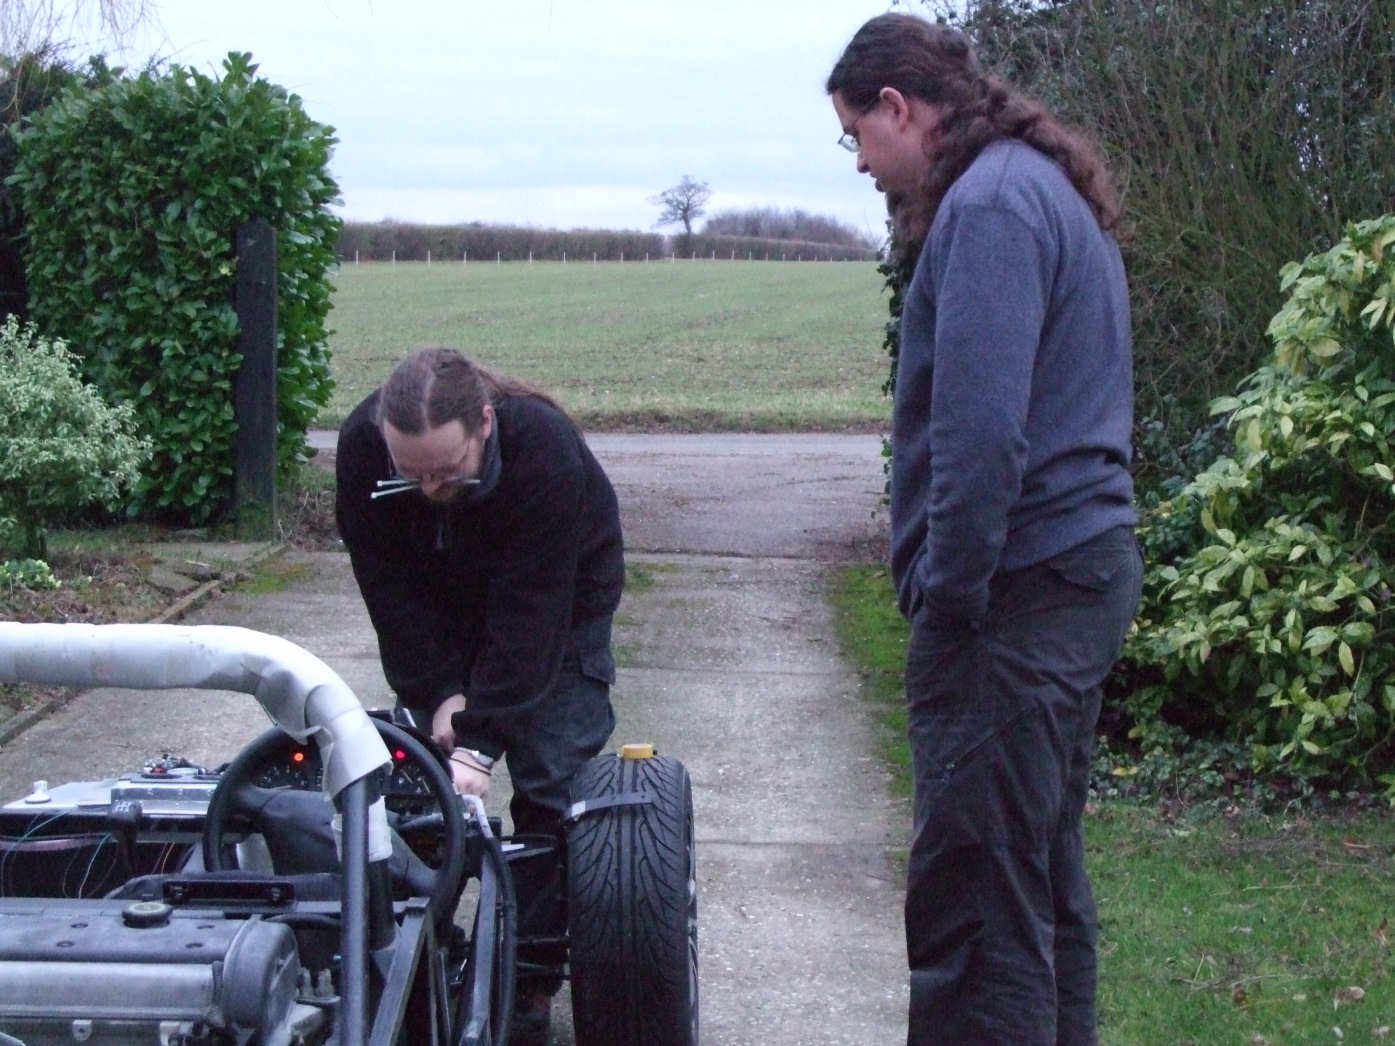
Other than a quick round of cable ties and tape to hold up some loose ends of the loom, it all seems to work! Maybe I should've remembered to take the cardboard off of the radiator, and bolt down the seats, and the fuel tank, and fit the harnesses but both the car and I survived. I've never driven a kit car before so I don't really have any reference points for what is right and wrong - however, the steering feels very light, the front brakes lock up first (I'm not using a brake servo so the pedal feels very different to my everyday car... I hope that they're ok!), and it sounds great! As I alluded to in the video - the 75HP from the Fiesta engine may not sound much but it's enough for a tiny car like this. Ok, so it hasn't made it out onto the open road yet or been driven in anger, but it looks lilke it'll be the safe and reliable engine I wanted to start with. I'm starting to really look forward to actually driving the Mojo this summer!
One thing that has caused me some concern is that VOSA have moved so it looks like I've sent the SVA1 paperwork to the wrong address! Ack! The test date needs to be confirmed by the end of the week or I may have to go for an IVA test.
That'll be one urgent call to Swansea in the morning then..
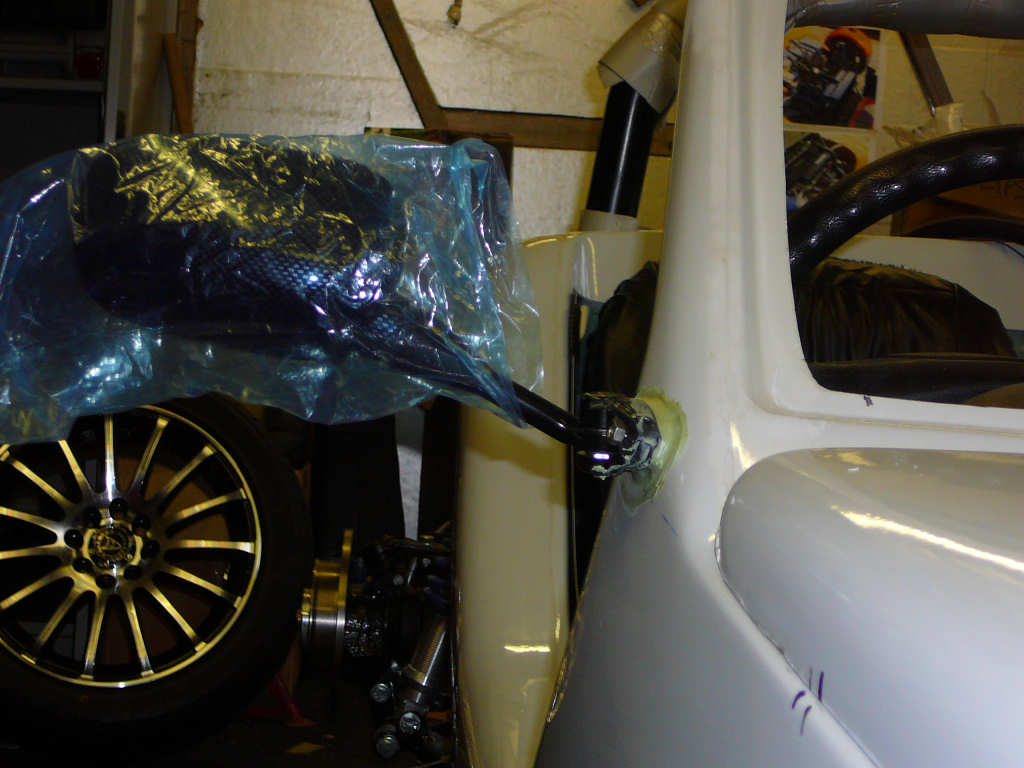
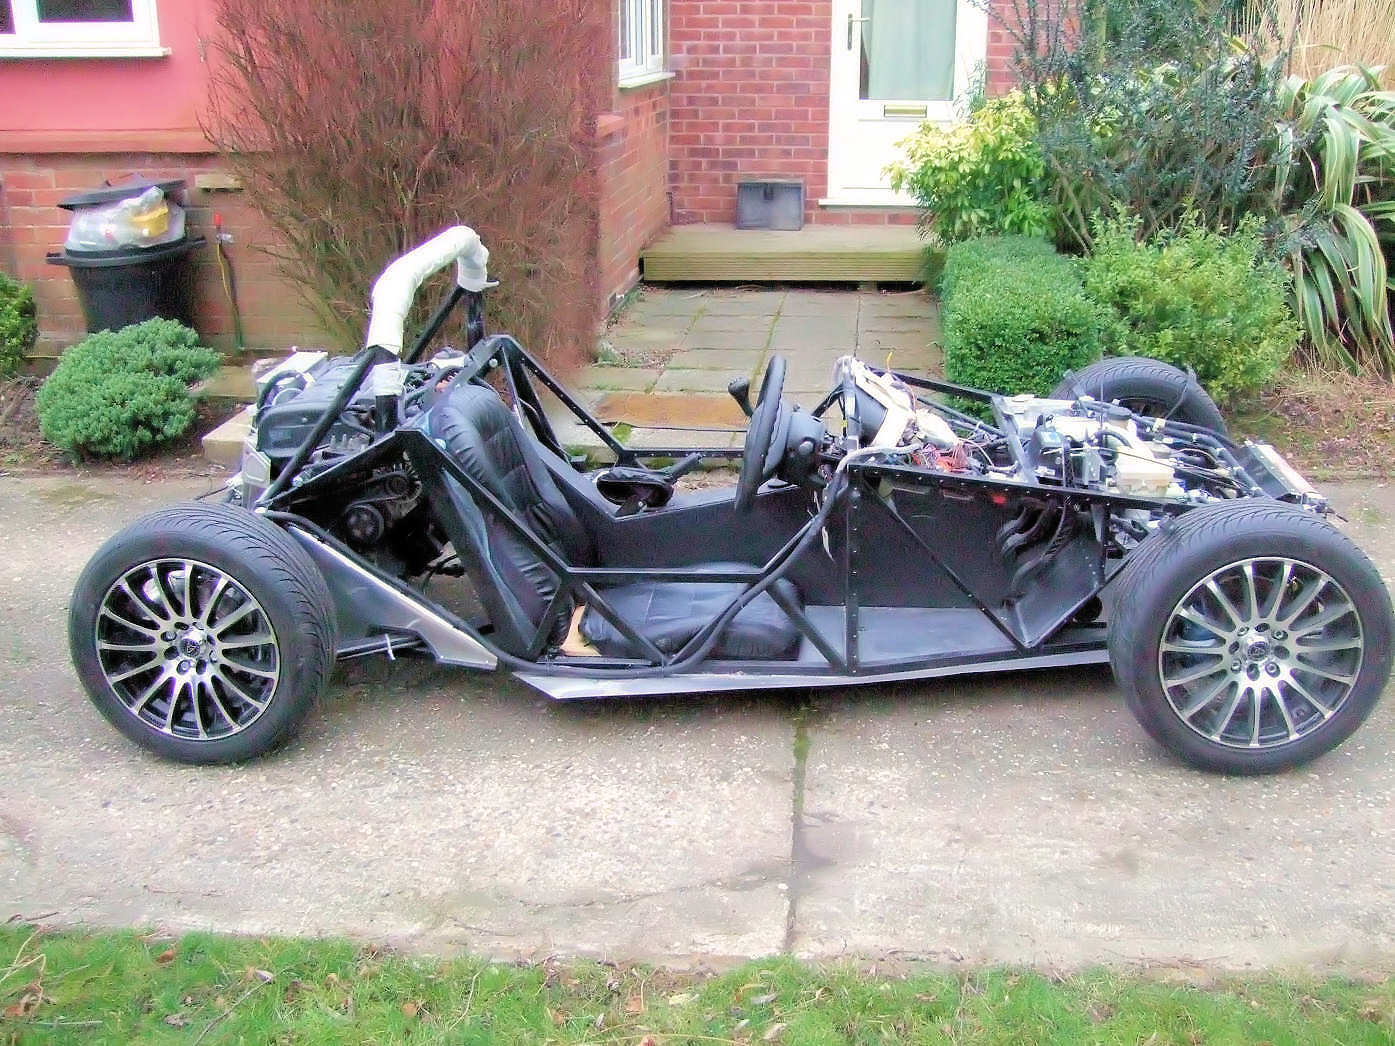
Too keep spirits up however, let's end with a photo of the Mojo in it's native habitat (although it's a little underdressed..)
![]()
Good news - I got a phone call confirming my SVA date today!
Bad news - that's only 27 days away!
Oh well - nothing else for it really... I just need to get on with the jobs left to do.
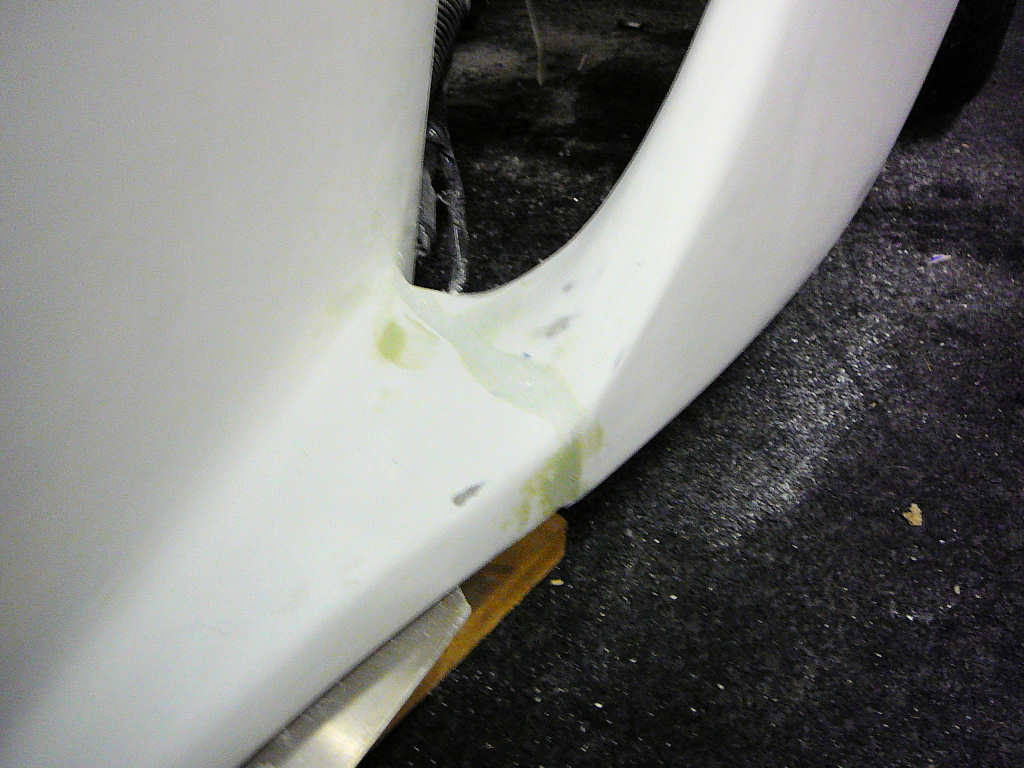
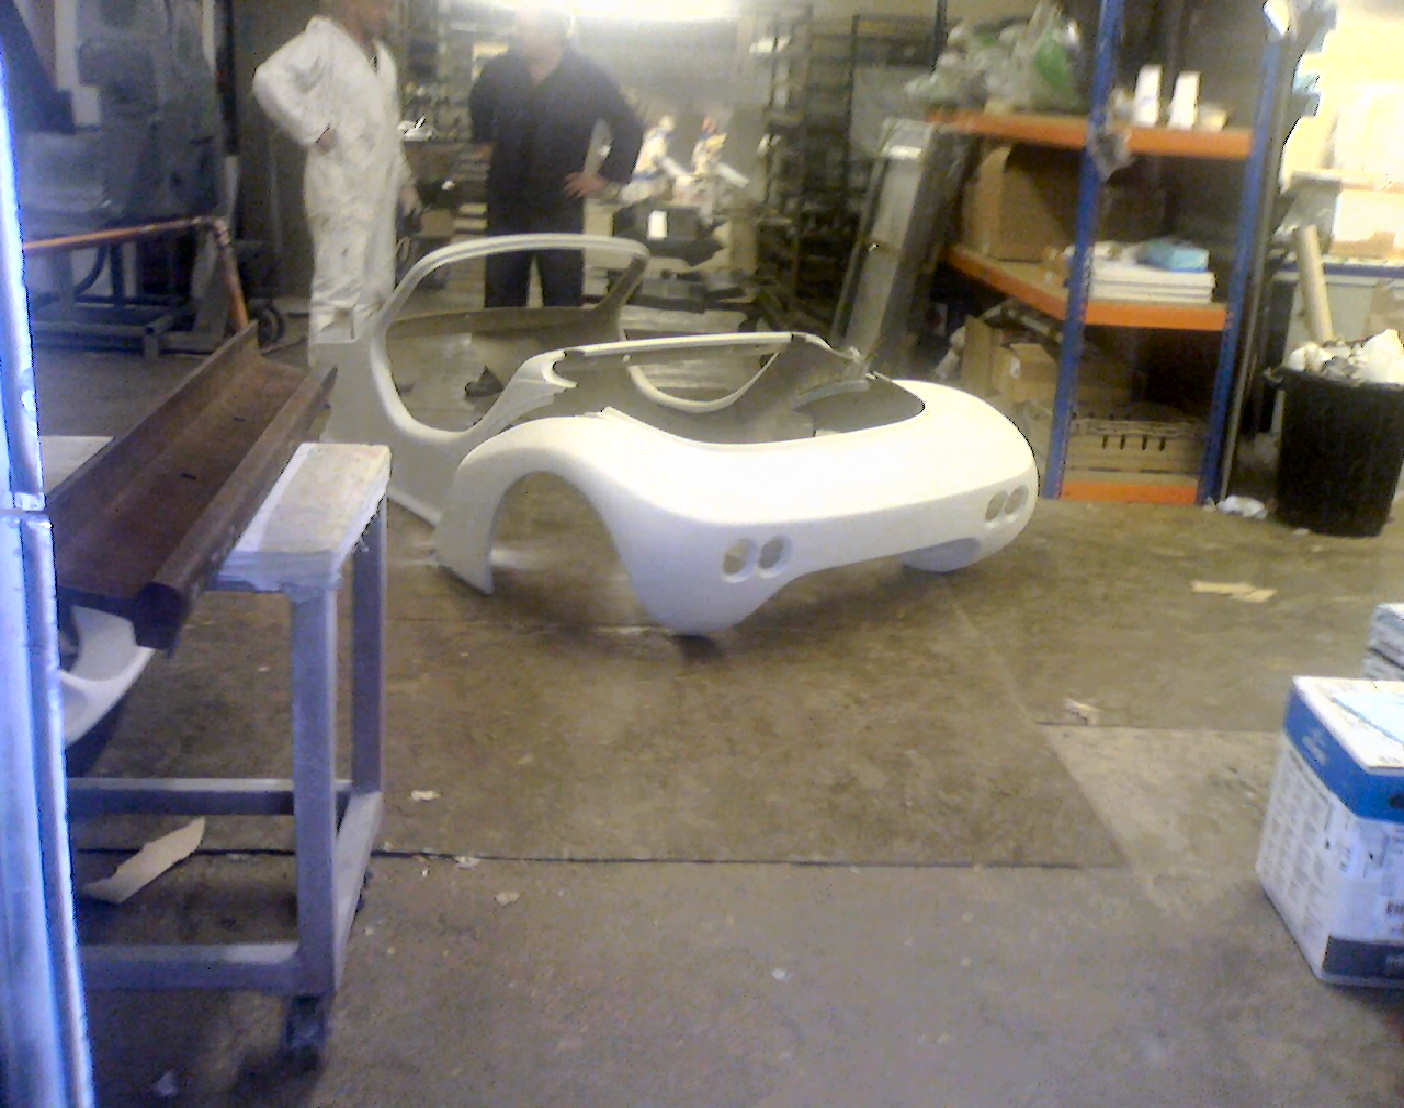
Also today, I dropped the body off at the painters. Wow - that sentence makes it sound simple! It makes no mention of the hour spent in a lay-by at 8am trying to fit the back of the trailer back on after it disintegrated and draggeed the lighting board along the A14 for about a mile, or the way the electrical connector for the trailer fell apart at one point (literally, fell apart. In tiny bits. All over the floor.) Luckily I had gaffer tape so this got sorted. Gaffer wasn't so useful for the knackered wheel bearing that decided today would be a good day to die. The wheel still goes round, but it doesn't half make a fuss about it! And it makes absolutely no mention of the heart sinking moment when I finally arrived, took the tarpaulin off the bodyshell, and spotted the enormous crack heading along the filler between the main tub and the rear wing. It was at around this point that I hoped that this was all a particularly bad dream and that any moment I would wake up and start the day again. Unfortunately, this was not the case. Anyway - I spoke to the painters at some length about what could be done and I decided to separate the bodyshell back into it's two constituent parts. Any remaining filler will be sanded off and the painting will continue. In the end, all this means that I'll need to get some tadpole beading to join the rear to the tub, and that there will be a visible join between the two parts. Now, given that I did the filling and sanding, there would've been a visible line anyway knowing my luck - at least this way it'll look like it's meant to be there!
The painters may be able to drop the body back to me in their Transit van when it's finished. Failing that, I'm going to hire a van. (I'm done with trailers for now...)
The painters I'm using are 'Morley Bros' in Milton near Cambridge. As a ballpark figure, the total job should cost under £500.
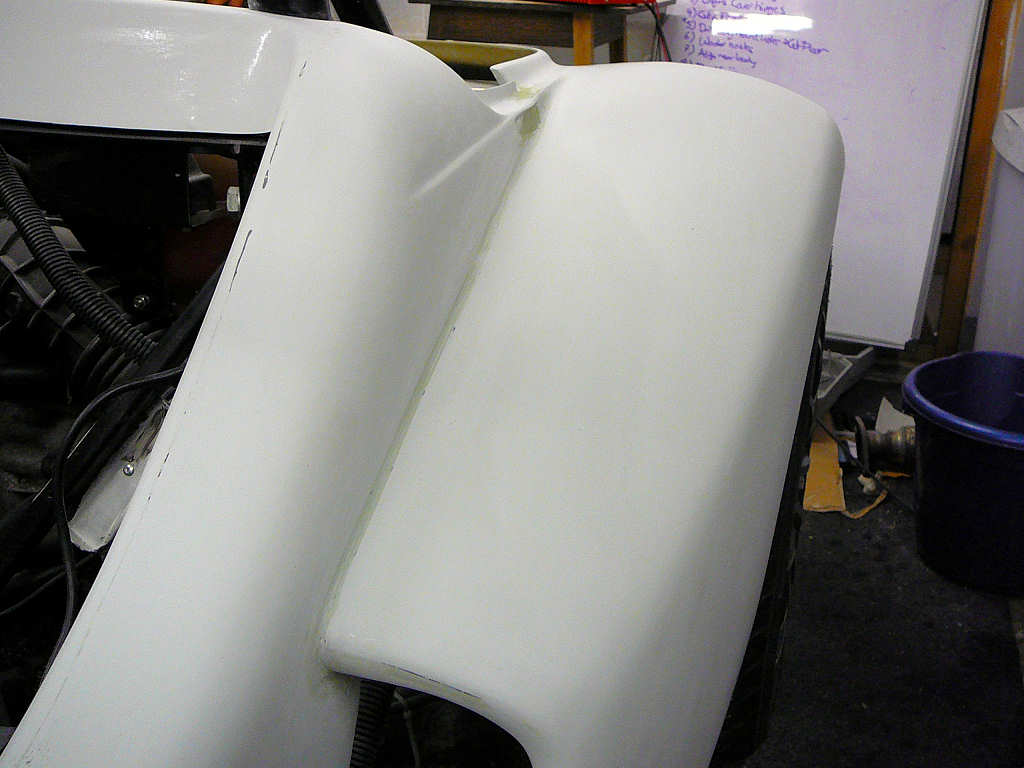
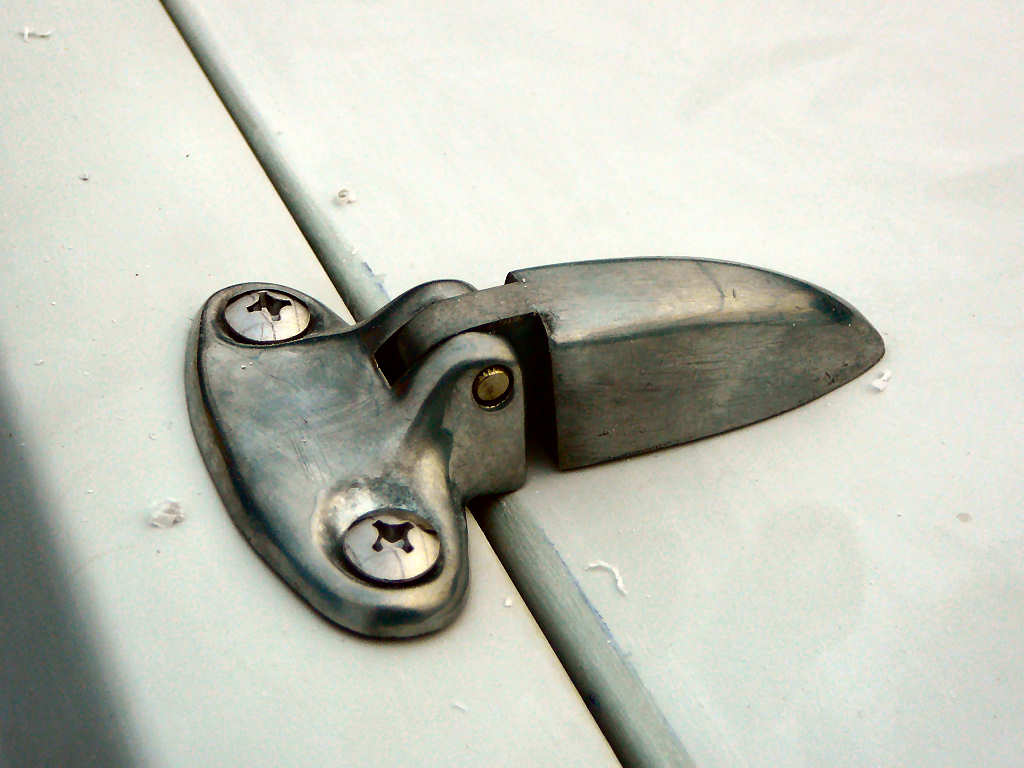
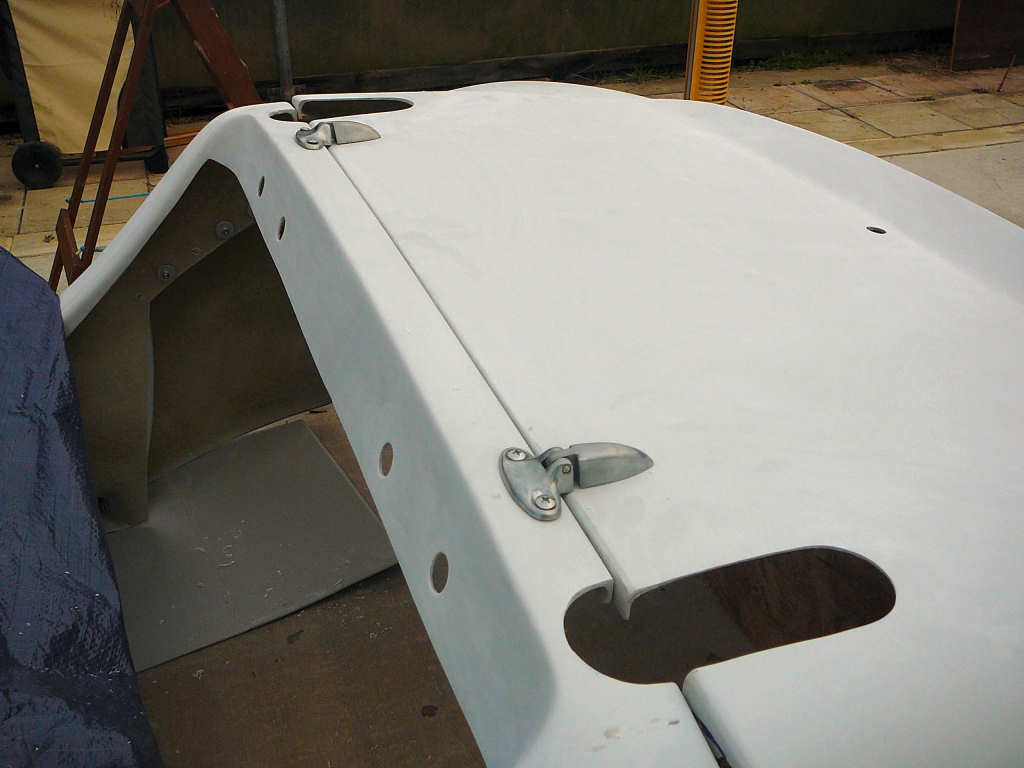
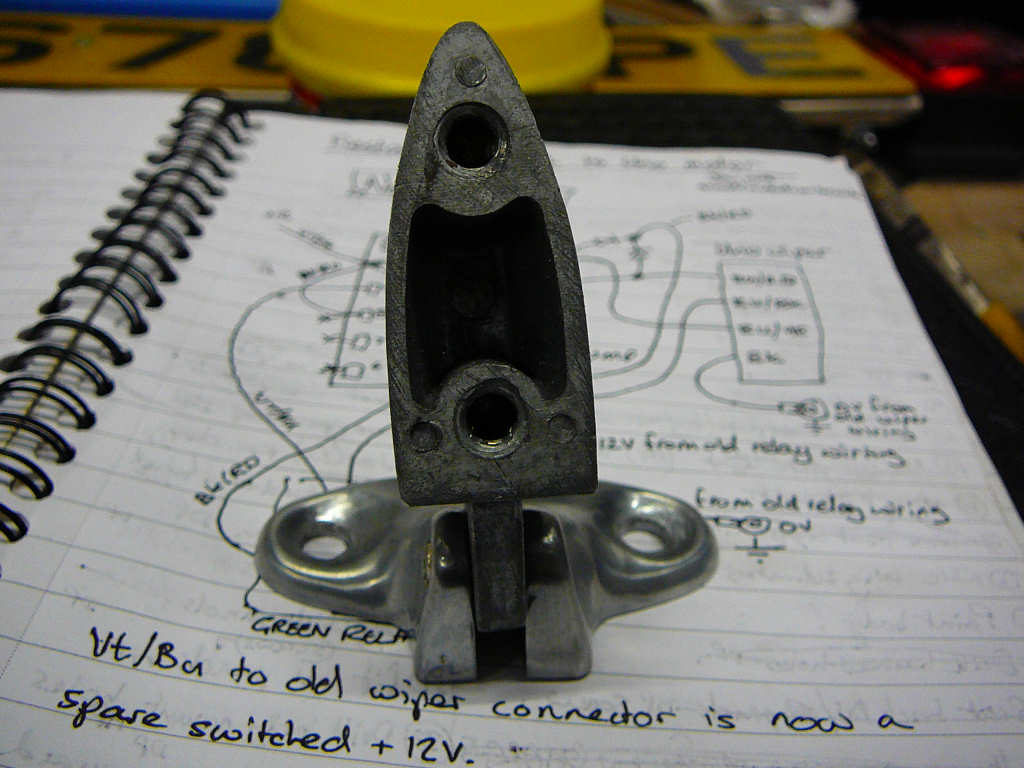
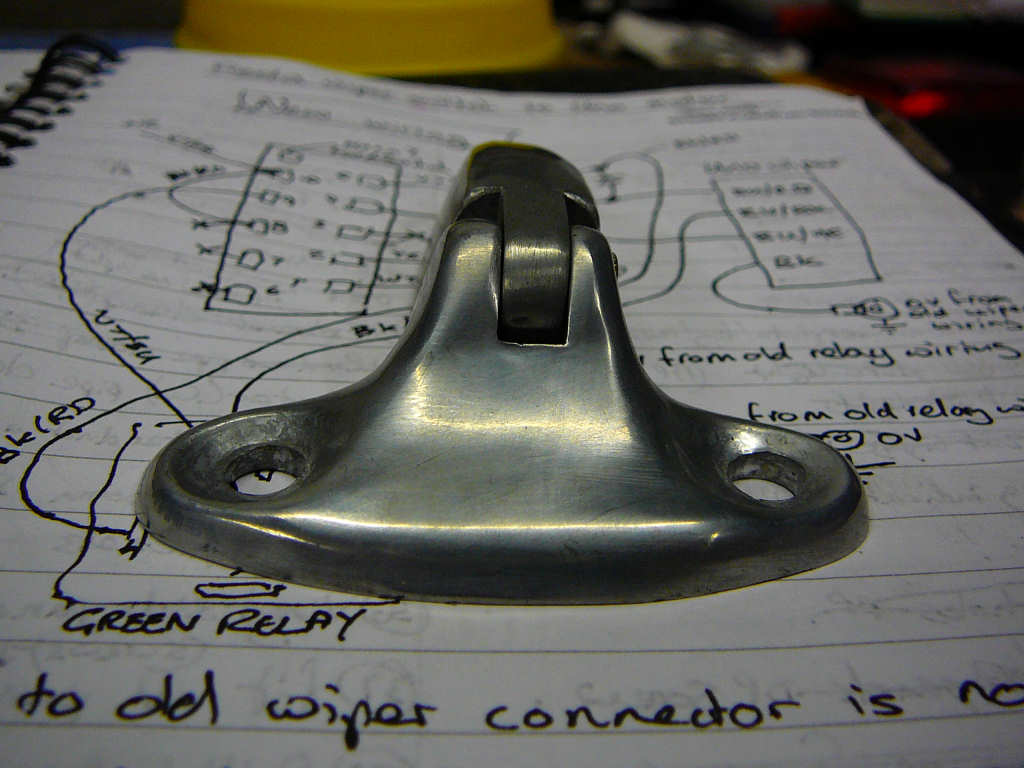
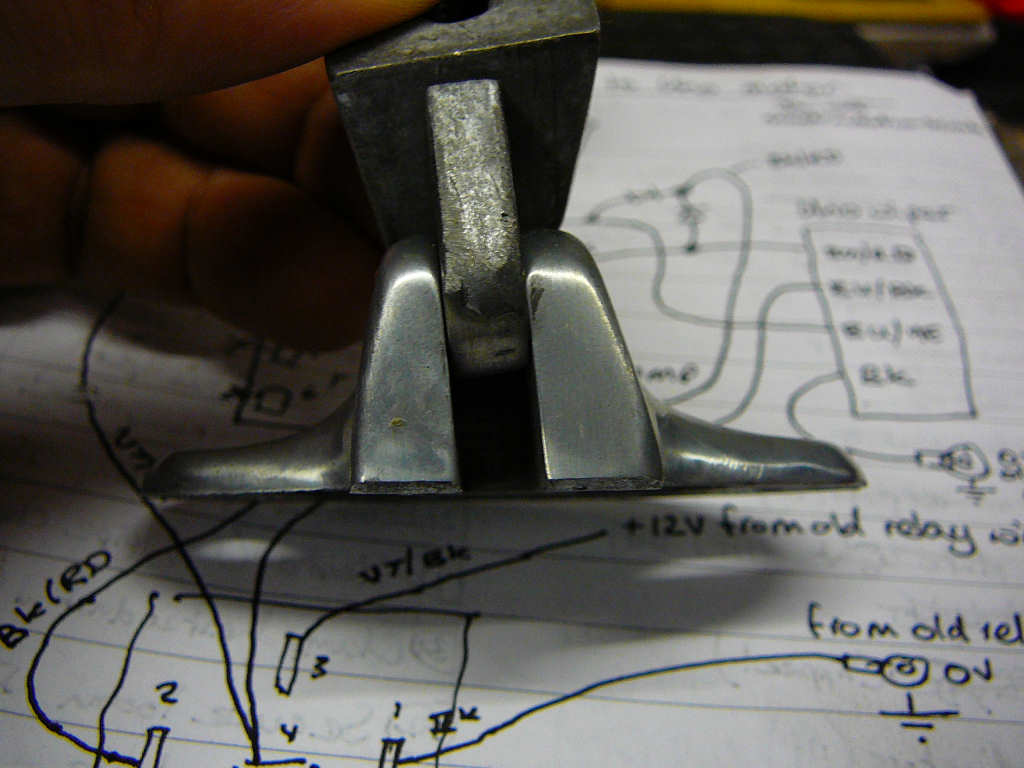
Just before going to paint, I fitted the engine cover hinges. These are the boot hinges from a classic mini and l'll get around to fettling them and painting them soon. For now, here are some photos of them in their raw state.
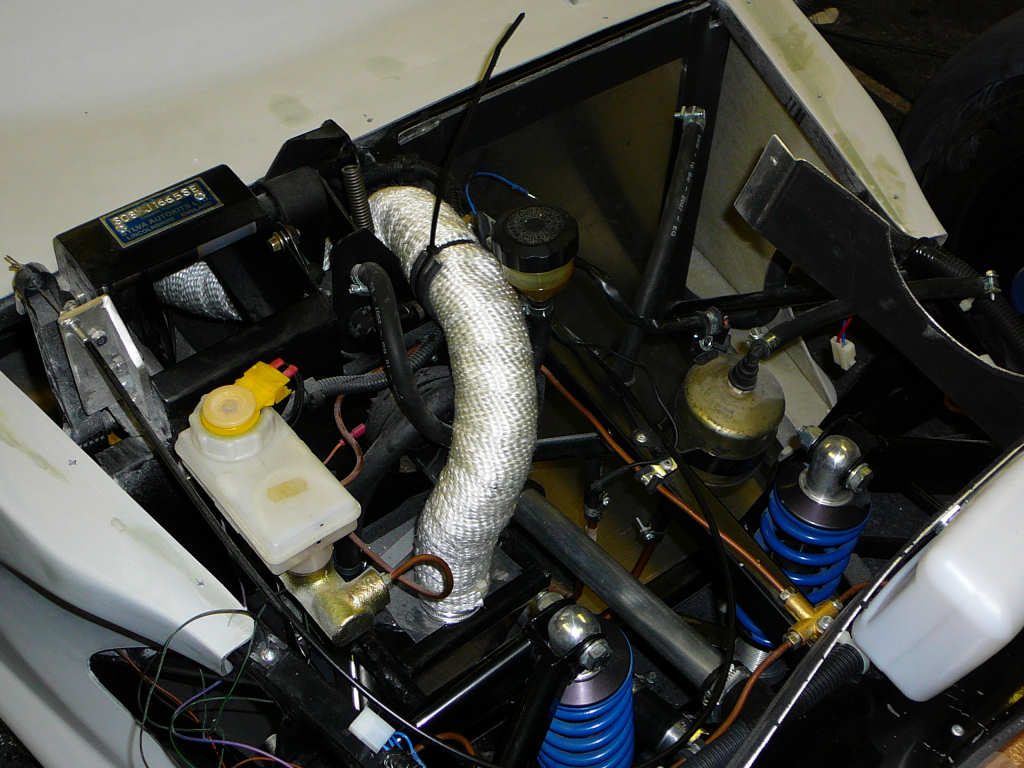
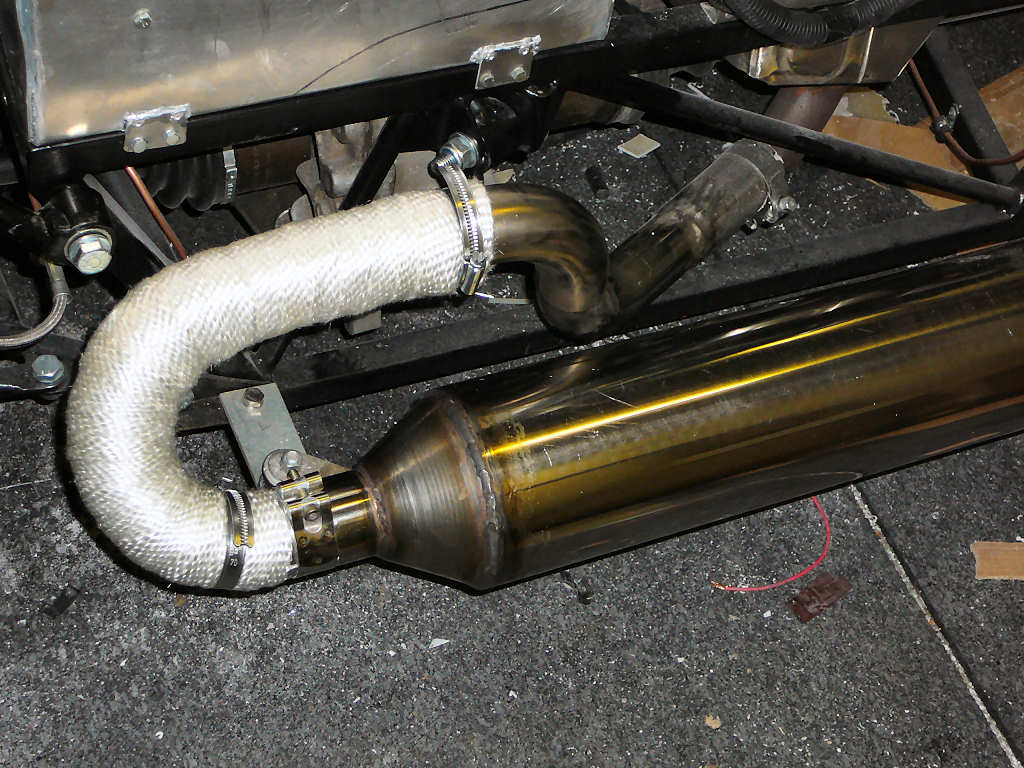
Now that the bodywork is off, I'm starting to get around to all of the finishing jobs on the chassis. One of which was to wrap the section of the exhaust that is closest to the fibreglass.
There are still about a billion jobs to do, and I've got an MOT booked for March 20th just as an idiot check before SVA. This will give me the weekend to fix any remaining problems before the 24th.
One of the jobs I'm a bit concerned about is the steering self-centering. I've put a thread up on the Sylva Google Chat which has resulted in a flood of replies from other builders about tyre pressures, castor angles and toe settings. The general consensus is that its a trial-and-error job, but 1 degree of toe in should be a good place to start since I'm using Capri uprights. The SVA test is to put the car on full lock, drive around in a circle and then release the steering wheel. There should be 'a degree of self centering'... I'll check this during the MOT.
oh - and you may notice that the background music has changed on the test drive video. Apparently, YouTube take a fairly dim view of using other peoples music on your videos - something or other to do with copyright? <ahem>